Foreword
In this entry I would like to show you how to install ADFS.
Prerequisites
- Separate VLAN for the ADFS Server
- Windows Server, domainjoined (Server 2025 in this example)
- Certificate (issued by Windows PKI or external CA, will be addressed later in the guide)
Install ADFS Role
Open the Server Manager.

On the top right, click on “Manage” and select “Add Roles and Features”.

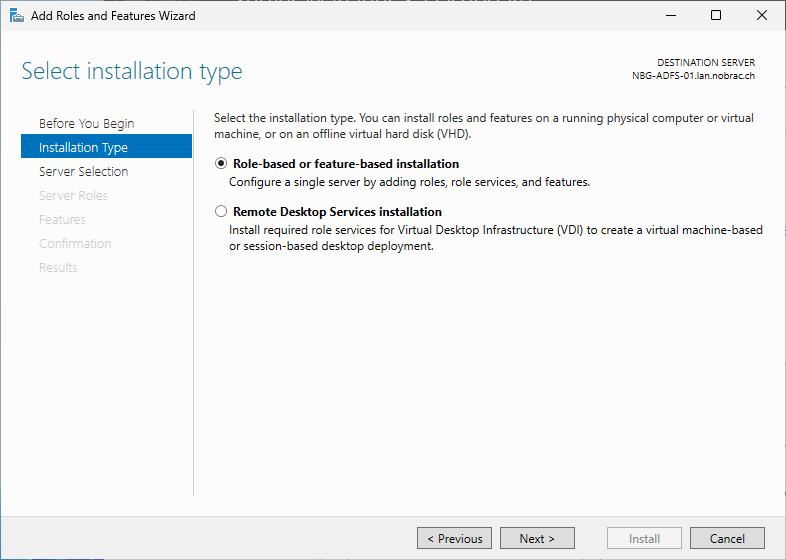
Click on next.

Select “Role-based or feature-based installation”.
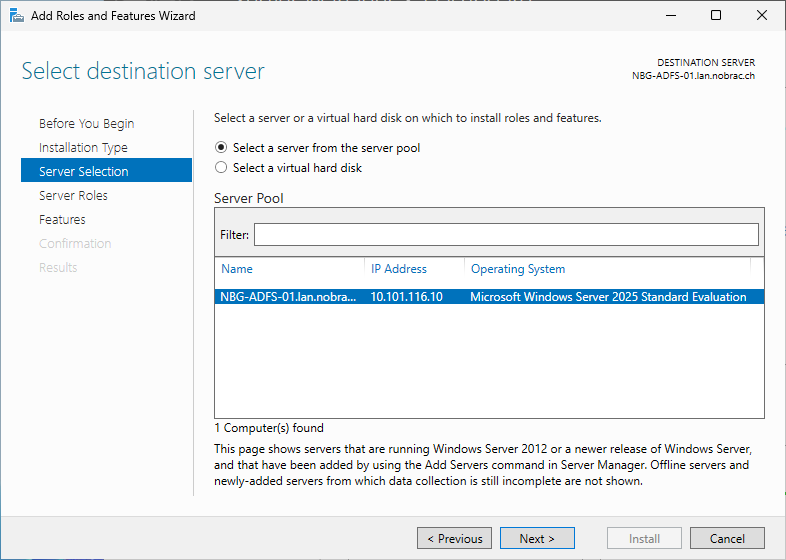
Select the server and click next.
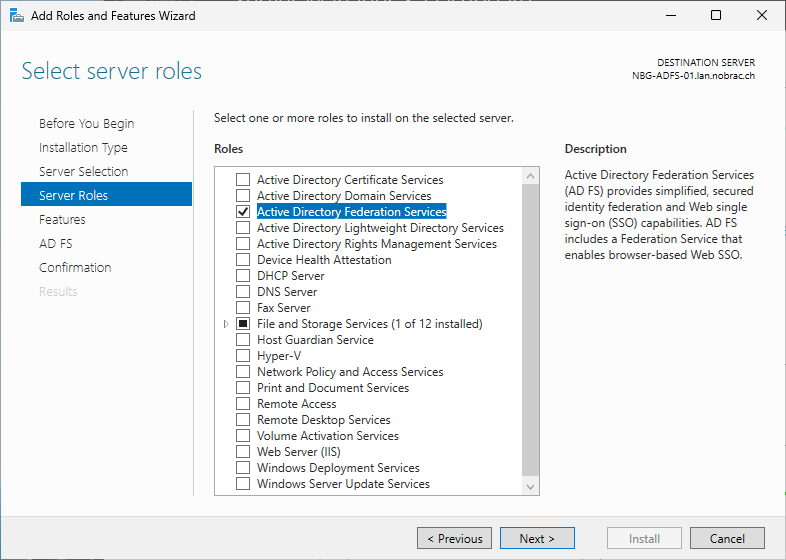
Search the “Active Directory Federation Services” option.

Tick the box and click on next.
We don’t need any features so just click next.

Just click on next again.

Confirm the installation and click on install.

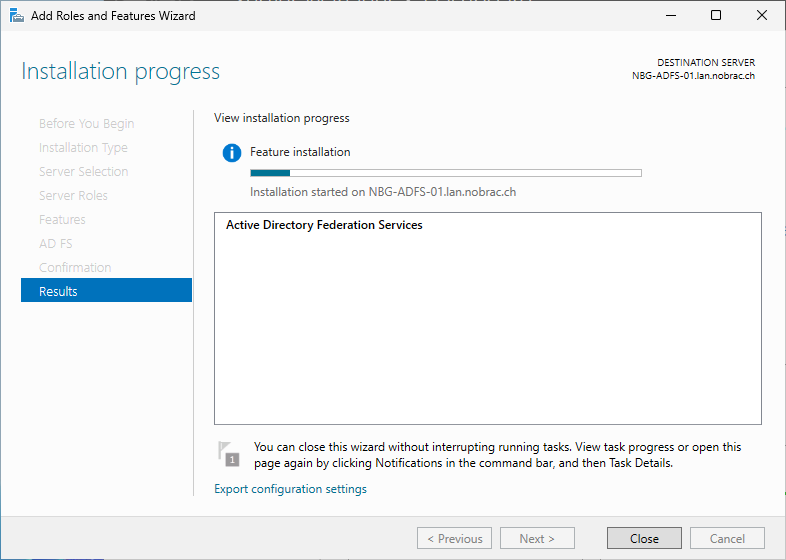
Wait until the installation is finished.
It can take some minutes. It looks like this once complete.
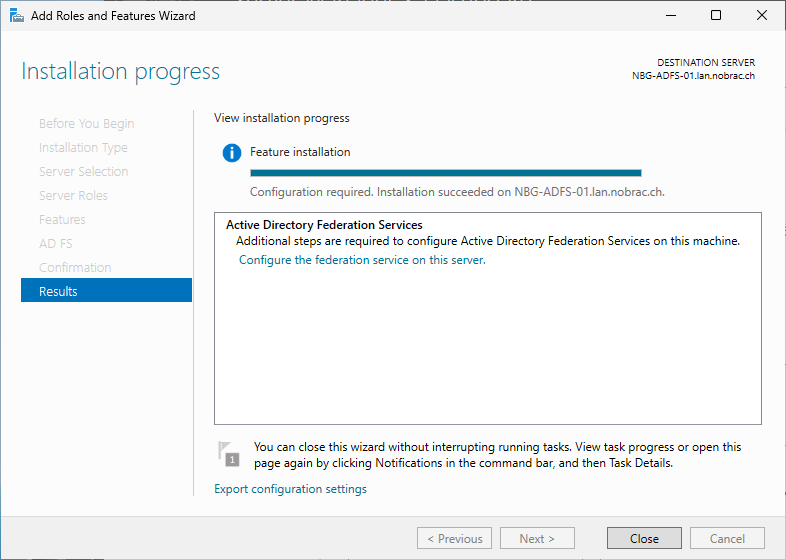
You should now see a yellow warning in the top right of your Server Manager.
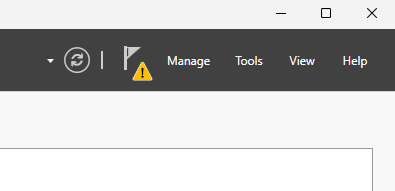
Click on the warning and select “Configure the federation Service on this server.”.

Select “Create the first federation server in a federation server farm” if that is your first server (probably).
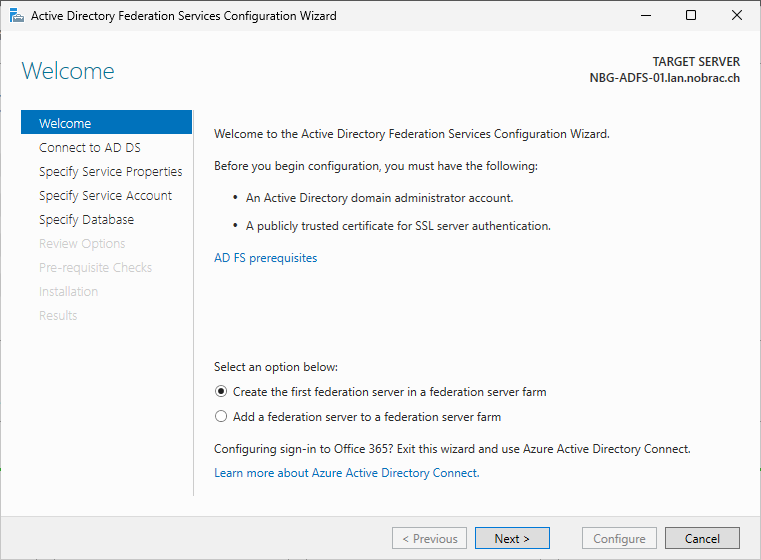
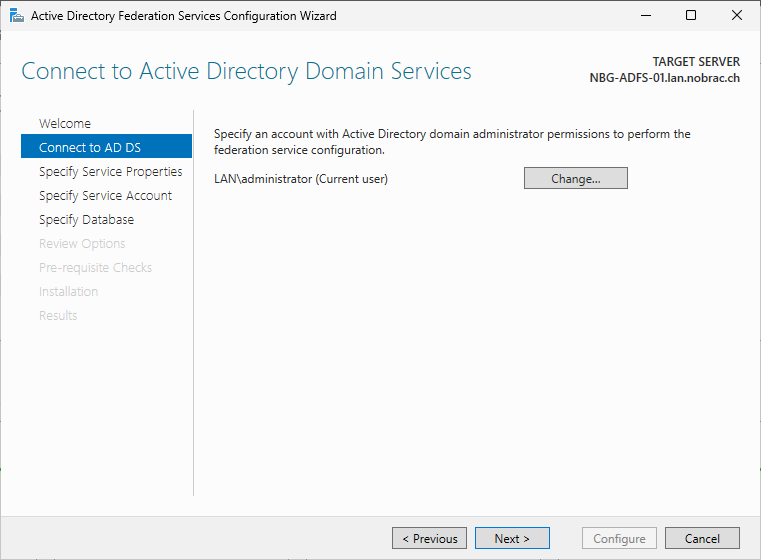
Make sure that you are logged on to the server with an account that has domain administrator rights.
You will now need to select your certificate for the ADFS and specify a name.

It should look like this.

You need a certificate with the following SANs:
- adfs.your.domain
- enterpriseregistration.your.domain
- enterpriseregistration.your.internal.domain
- enterpriseregistration.your.adfs.domain
- certauth.your.adfs.domain
- hostname-of-your-server
- fqdn-of-your-server
- IP-Address of your Server

If you followed my PKI installation guide, you can use the “Web Server” template for that. See here: https://theadmincafe.ch/p/windows-pki-installation/#create-new-template-web-server
A gMSA account should be used for the ADFS service account. These accounts offer more security than normal “AD Service Accounts”. If gMSA accounts have never been used in the domain before, a KDS root key must be set first.
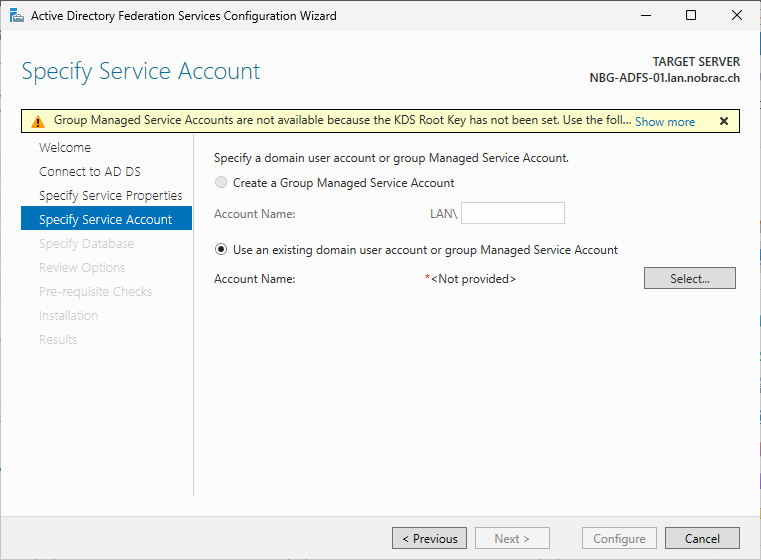
This is also displayed at the top as a warning message. If you click on the warning message, you will receive this message.

To create the KDS-Root-Key, you must execute the following command on one of your domain controllers:
|
|
You should then wait 10 hours to ensure that it is completely replicated in the entire domain. There are methods to bypass the 10-hour waiting time, but these are not recommended by Microsoft. The best way is therefore to wait the 10 hours. You can use the following command to skip the 10 hour waiting time (not recommended):
|
|
After waiting 10 hours and restarting the configuration setup, the message disappears.

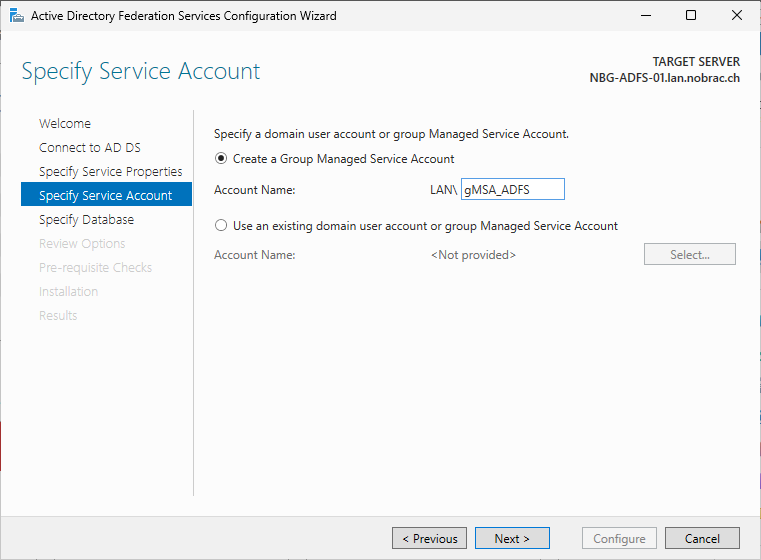
A name must now be assigned to the gMSA account. In my case, I use “gMSA_ADFS”.
Select “Create a database on this server using Windows Internal Database”. This is easily sufficient for a Homelab environment. For large ADFS farms, a dedicated SQL database should be used.

Review the options and click next.

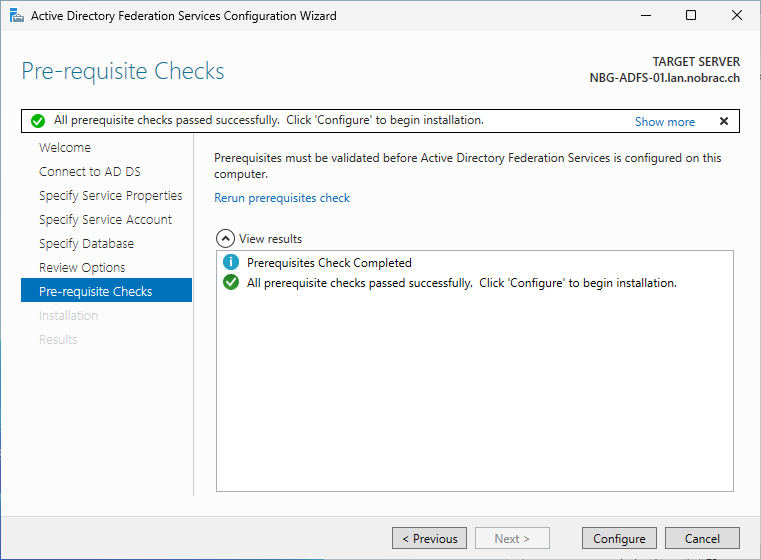
If you have generated the KDS root key but have not waited 10 hours, the following warning message will appear during the prerequisite check.

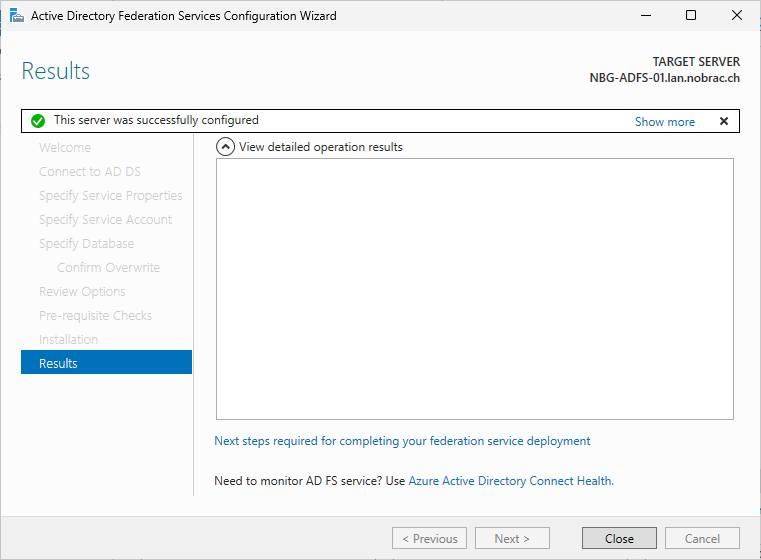
If you have waited the 10 hours, the prerequisite check should look like this. Click on configure.
Wait until the configuration is done.
Configure DNS
Configure Forward Lookup Zone
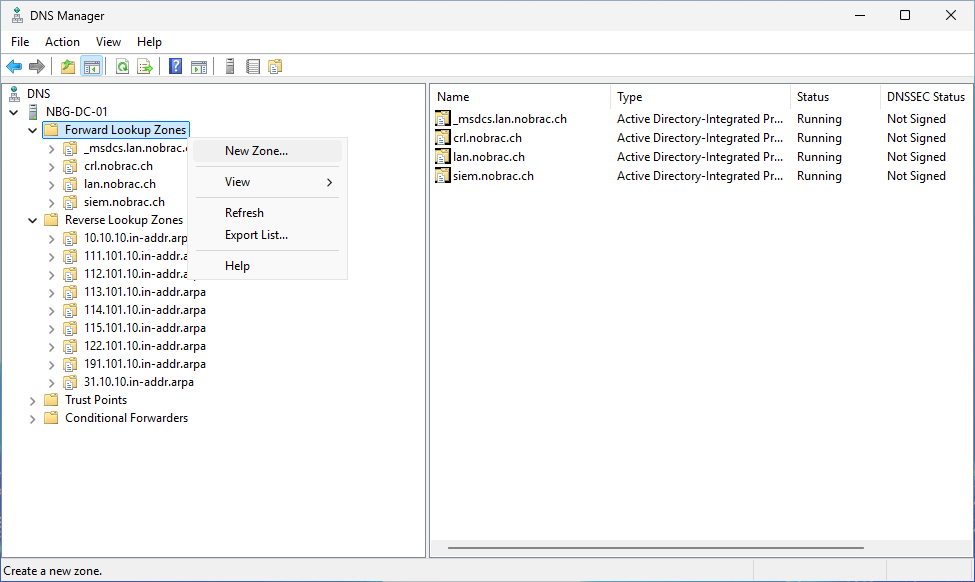
Open the DNS Manager on the domain controller or your management machine and right-click on “Forward Lookup Zones” and select “New Zone…”.
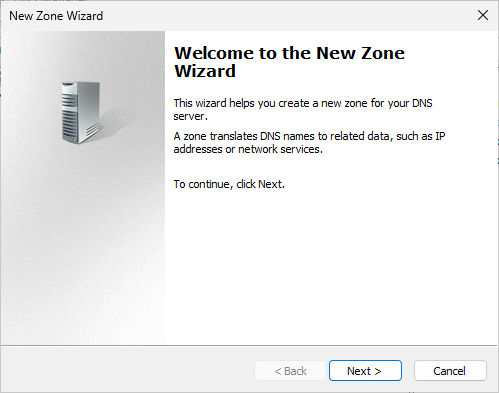
Click on next.
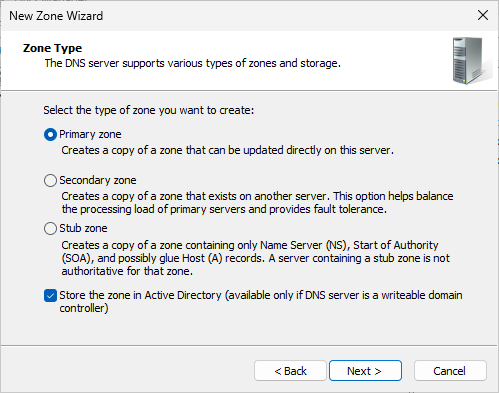
Click next again.
Click next again.
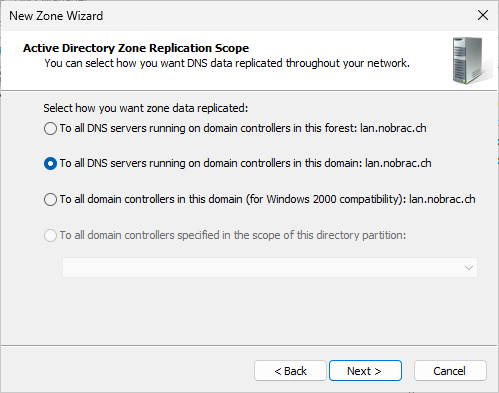
Enter the zone name. It should be your ADFS domain. In my example it’s “adfs.nobrac.ch”.

Click on next.
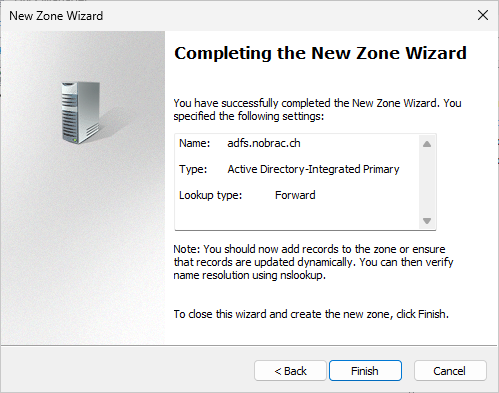
Click on finish.
Configure Reverse Lookup Zone
Open the DNS Manager on the domain controller or your management machine and right-click on “Reverse Lookup Zones” and select “New Zone…”.

Click on next.

Click on next.

Click again on next.

Select “IPv4 Reverse Lookup Zone”.
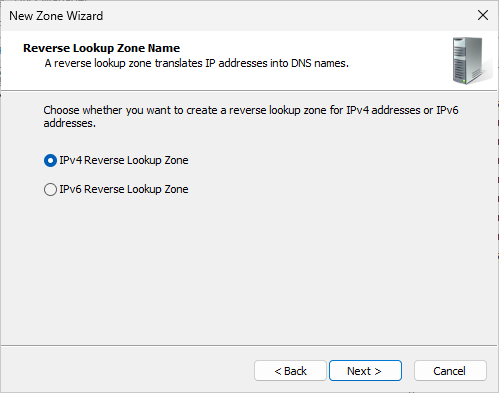
Enter your network and click on next.

Click on next.

Click on finish.

Create A-Record
Now select the newly created Forward Lookup Zone (in my case “adfs.nobrac.ch”) in the DNS Manager and right-click in the free area on the right and select “New Host (A or AAAA)…”.

Leave the name blank and enter the IP-Address of your ADFS-Server. Make sure that the box for creating the PTR-Record is checked.

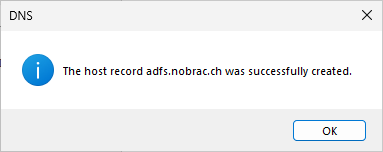
The record got successfully created.
You should see the new entry in the overview.

Test the login
After configuration, open Powershell with administrative rights. Enter the following command to activate the ADFS login test page. This is deactivated by default from Windows Server 2016.
|
|

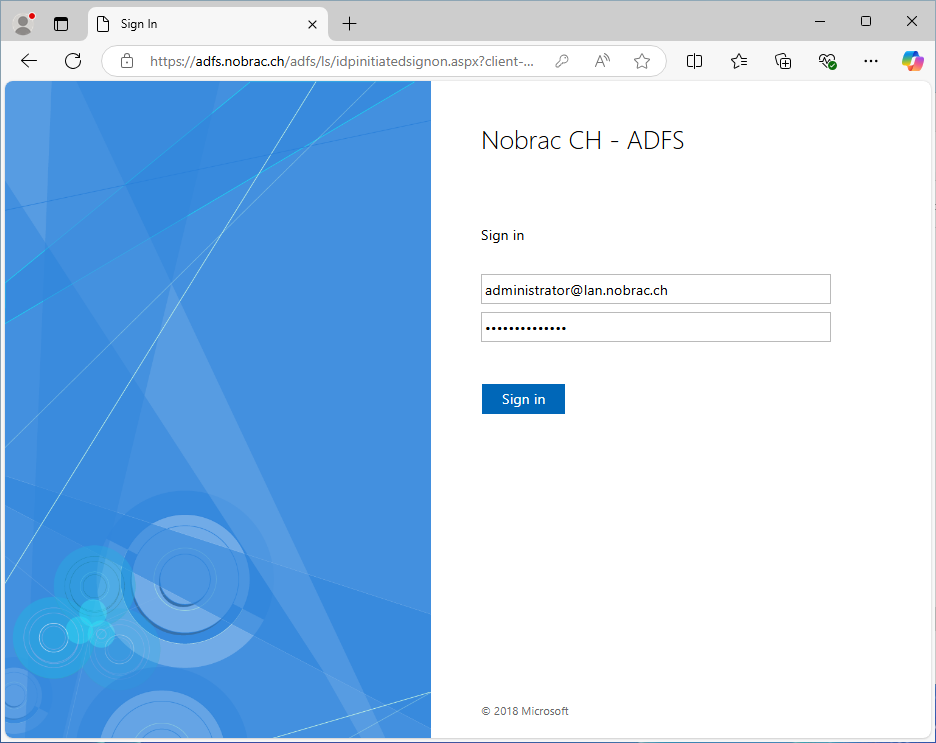
Open the ADFS website in a browser of your choice. Click on “Sign in”.

Enter the credentials from the domain administrator for testing.
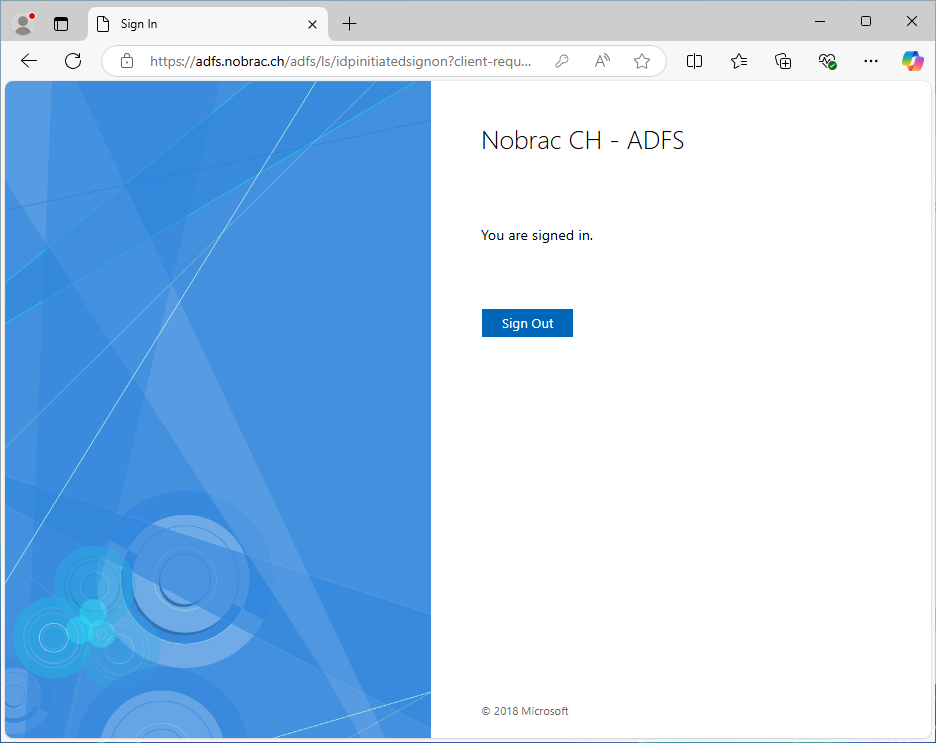
If the page displays “You are signed in.”, everything works as it should.
At the end, the ADFS login test page should be deactivated again. Dies geht mit folgendem Befehl.
|
|
