
This is the first part of my “Secure Active Directory” series. The first part only deals with the installation of an Active Directory under Windows Server Core. I recommend an installation under Windows Server Core, as this system offers a smaller attack surface than a Windows Server with GUI. And to all those who think this is useless: You should check the differences between the two systems more closely (no pre-installed, outdated Internet Explorer and no print spooler, to name just two things).
Here is a brief summary of the steps:
- Installing Windows Server
- Network settings
- Date and time settings
- Installation Active Directory
Let’s start.
I would generally always recommend installing the Windows Server in English, no matter where you come from, and then just changing the time format and keyboard layout to your language.

The core version is then selected during installation.

You now name your server properly, assign it a static IP address with DNS server, adjust the time/time zone if necessary and restart it. I think the steps are self-explanatory.

The following problem may occur when assigning a static IP address:

This can be remedied as follows: We press Enter and then enter the number “15” to get to the Powershell console.
There we now enter the command “Get-NetAdapter”. In my case, the network adapter is called “Ethernet0”.

We now remove the IP assignment of the network adapter with the following command: Remove-NetIPAddress -InterfaceAlias Ethernet0 -confirm:$False

We then use the following command to assign our desired static IP address for the “Ethernet0” adapter: New-NetIPAddress -InterfaceAlias Ethernet0 -IPAddress 10.10.80.50 -PrefixLength 24 -DefaultGateway 10.10.80.1

With the command “ipconfig” we can now see that the IP has been entered correctly.

However, do not forget to enter the DNS servers afterwards. This usually works without any problems. The “sconfig” command takes us back to the selection menu.
We will now install the AD domain services with the help of Powershell.
|
|

We continue with the installation of the AD-Forest.
|
|
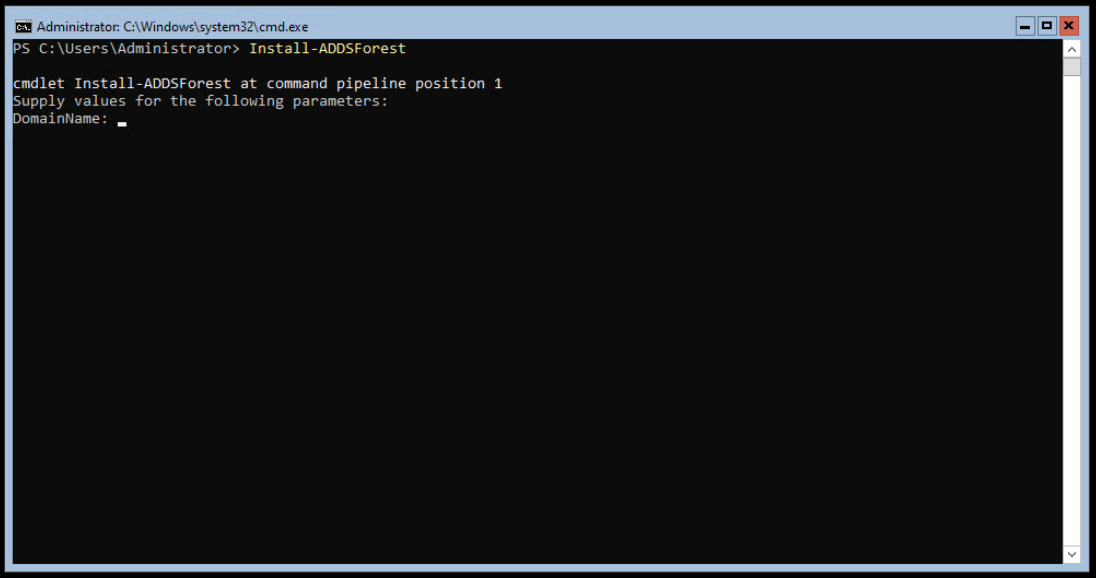
We must now assign the desired domain name. Microsoft recommends that you use a subdomain of your domain. I own the domain theadmincafe.ch, so in my case I use the domain lan.theadmincafe.ch for my internal AD. You must also enter the password for the domain admin account. Then we need to confirm the configuration.

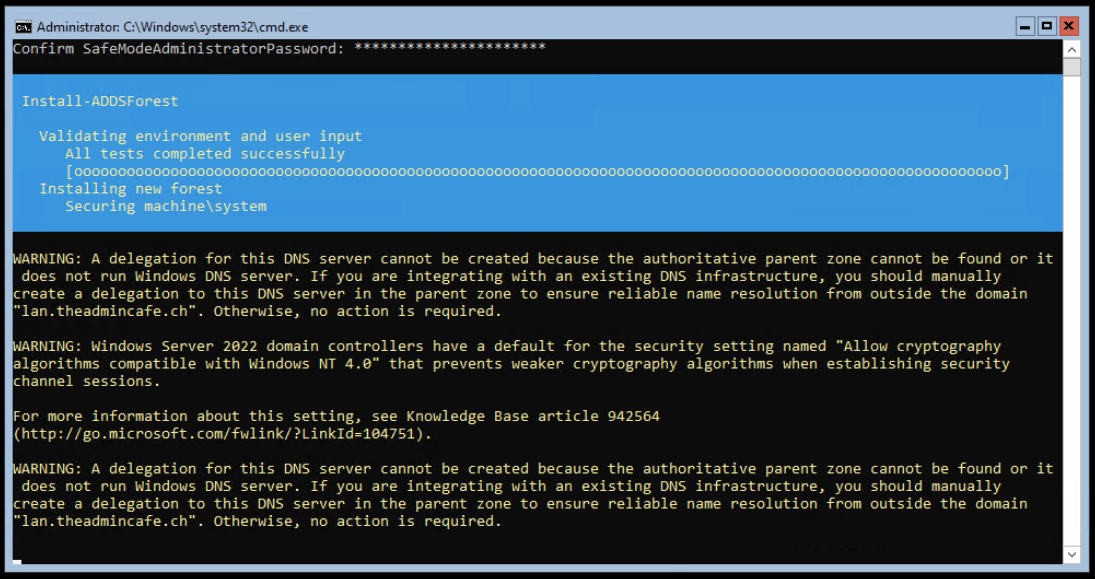
The configuration is then carried out.

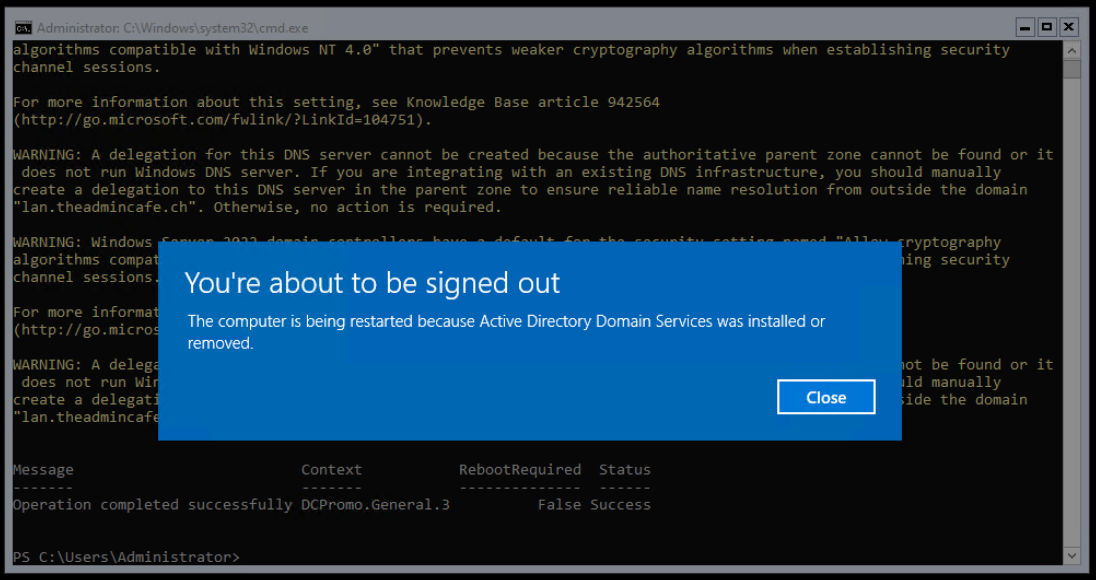
When the installation is finished, a message appears that the server will be restarted.
To be continued…