Prerequisites
- Windows PKI
- VCSA (vCenter)
- Backup or Snapshot of VCSA (vCenter)
General
This article is about exchanging the CA certificate from the vCenter with a SubCA certificate from the Windows PKI.
Enable SSH
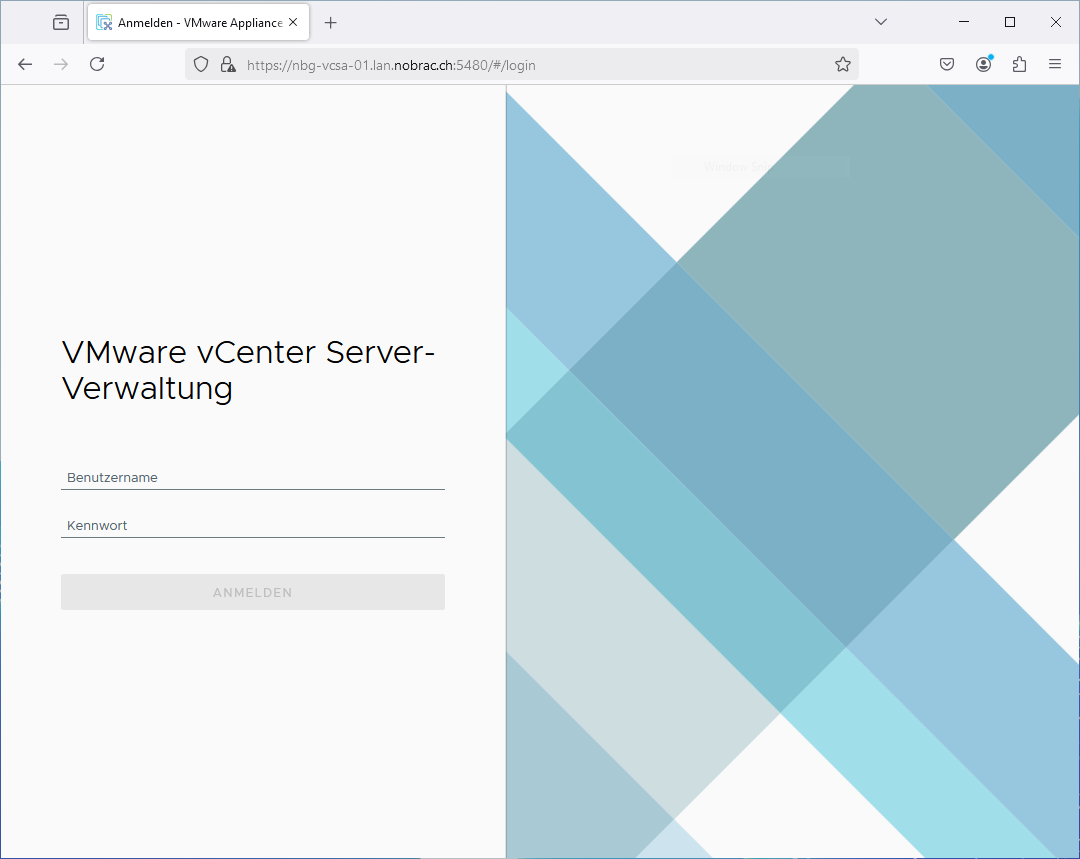
Navigate to your VCSA Management page. Enter the FQDN of your VCSA with the Port 5480 into your browser and login with your “root” User.
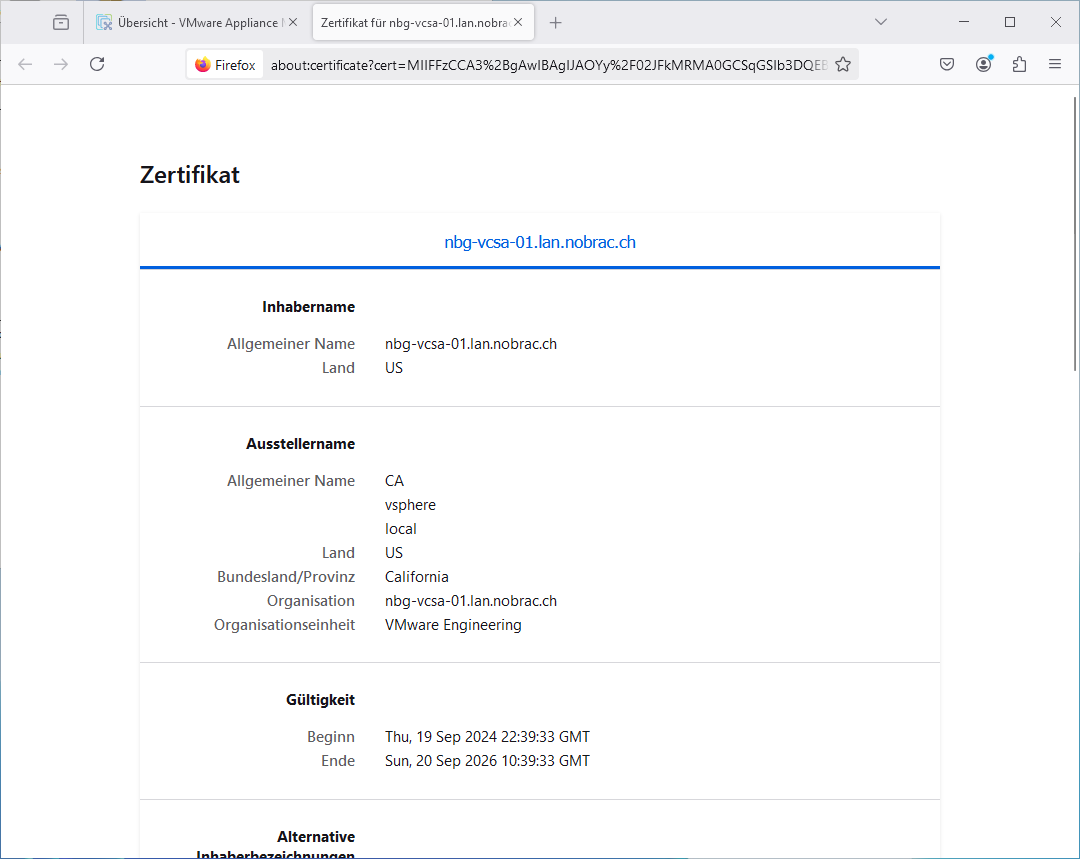
After a standard VCSA installation, a self-signed certificate is installed. You can check it in your browser.
After the login, you see the following window.

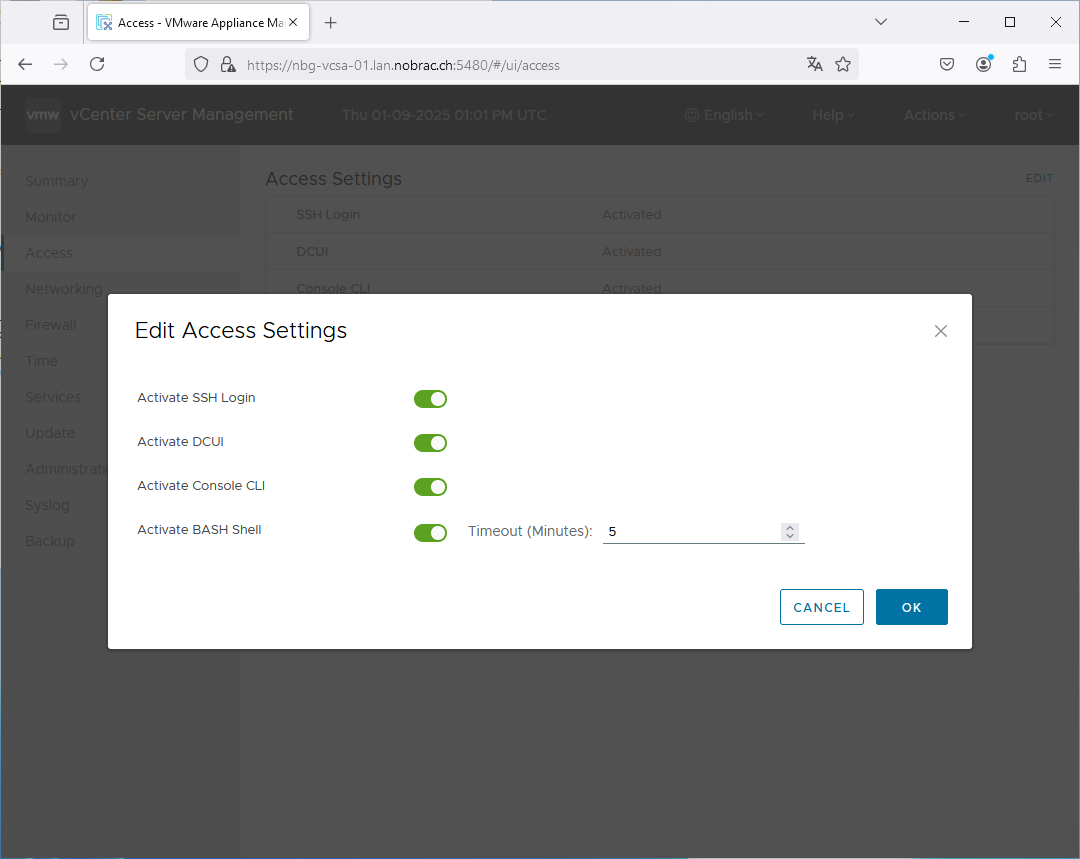
Navigate to the “Access” option in the left navigation pane. Click then on “Edit” in the top right.
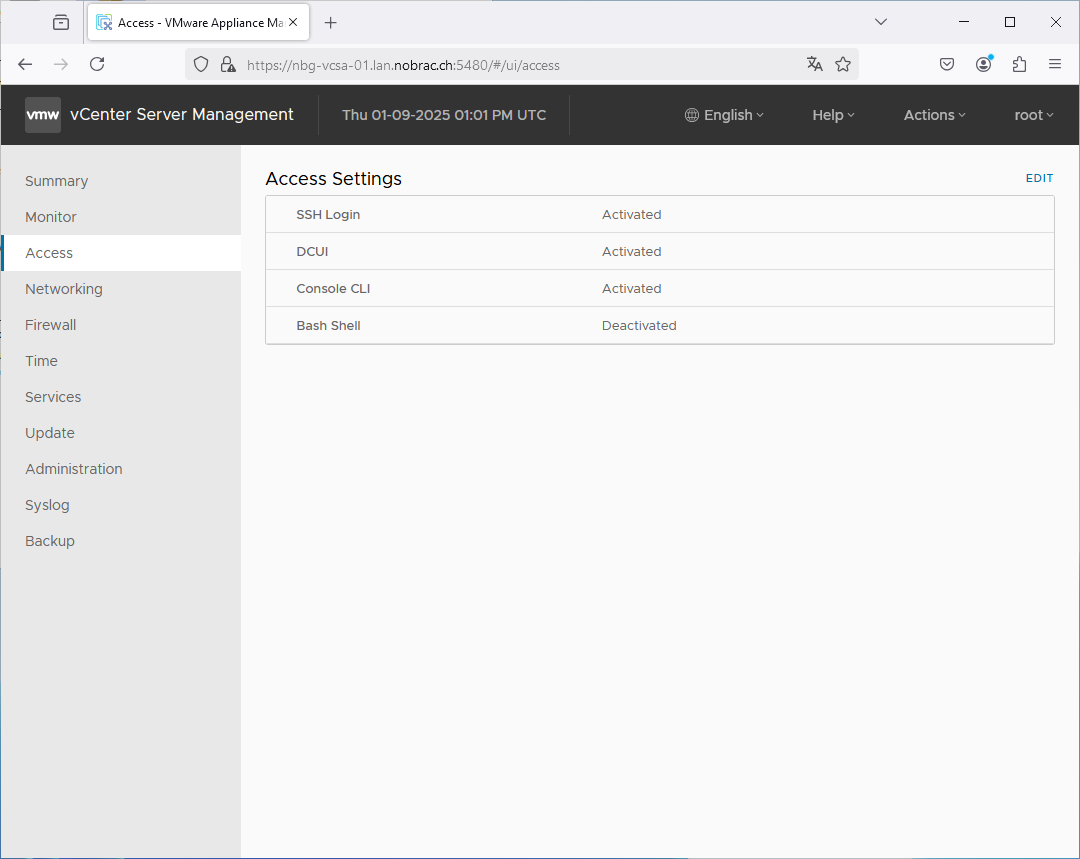
Enable the options like in the screenshot below and set the timeout for to BASH shell to 5 minutes (or whatever you want).
Fix SFTP Login
Enter the following command to fix the SFTP login to VCSA. We need it for WinSCP later in this guide.
|
|
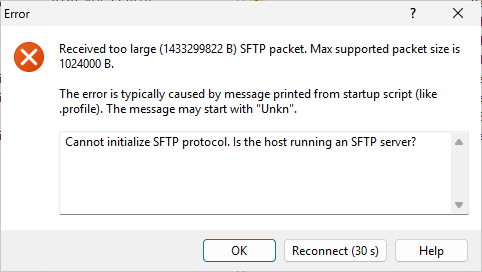
Otherwise you will get the following error in WinSCP/Filezilla.
Login to VCSA
Open PuTTY (or the terminal of your choice) and login to VCSA.
login as: root
Pre-authentication banner message from server:
|
| VMware vCenter Server 8.0.3.00200
|
| Type: vCenter Server with an embedded Platform Services Controller
|
End of banner message from server
Keyboard-interactive authentication prompts from server:
| Password:
End of keyboard-interactive prompts from server
Last login: Thu Jan  9 13:20:04 2025 from 10.101.191.10
Connected to service

    * List APIs: "help api list"
    * List Plugins: "help pi list"
    * Launch BASH: "shell"

Command> shell
Shell access is granted to root
root@nbg-vcsa-01 [ ~ ]#
Start VCSA Certificate Manager
Enter the following command to open the VCSA certificate manager. Select option “2”.
|
|
root@nbg-vcsa-01 [ ~ ]# /usr/lib/vmware-vmca/bin/certificate-manager
                 _ _ _ _ _ _ _ _ _ _ _ _ _ _ _ _ _ _ _ _ _ _ _ _ _ _ _ _ _ _ _ _ _ _ _
                |                                                                     |
                |      *** Welcome to the vSphere 8.0 Certificate Manager  ***        |
                |                                                                     |
                |                   -- Select Operation --                            |
                |                                                                     |
                |      1. Replace Machine SSL certificate with Custom Certificate     |
                |                                                                     |
                |      2. Replace VMCA Root certificate with Custom Signing           |
                |         Certificate and replace all Certificates                    |
                |                                                                     |
                |      3. Replace Machine SSL certificate with VMCA Certificate       |
                |                                                                     |
                |      4. Regenerate a new VMCA Root Certificate and                  |
                |         replace all certificates                                    |
                |                                                                     |
                |      5. Replace Solution user certificates with                     |
                |         Custom Certificate                                          |
                |         NOTE: Solution user certs will be deprecated in a future    |
                |         release of vCenter. Refer to release notes for more details.|
                |                                                                     |
                |      6. Replace Solution user certificates with VMCA certificates   |
                |                                                                     |
                |      7. Revert last performed operation by re-publishing old        |
                |         certificates                                                |
                |                                                                     |
                |      8. Reset all Certificates                                      |
                |_ _ _ _ _ _ _ _ _ _ _ _ _ _ _ _ _ _ _ _ _ _ _ _ _ _ _ _ _ _ _ _ _ _ _|
Note : Use Ctrl-D to exit.
Option[1 to 8]: 2
Do you wish to generate all certificates using configuration file : Option[Y/N] ? : y

Please provide valid SSO and VC privileged user credential to perform certificate operations.
Enter username [Administrator@vsphere.local]:administrator@vsphere.local
Enter password:

Please configure certool.cfg with proper values before proceeding to next step.

Press Enter key to skip optional parameters or use Default value.

Enter proper value for 'Country' [Default value : US] : DE

Enter proper value for 'Name' [Default value : CA] : VMWARE CA

Enter proper value for 'Organization' [Default value : VMware] : Nobrac CH

Enter proper value for 'OrgUnit' [optional] : IT

Enter proper value for 'State' [Default value : California] : Bavaria

Enter proper value for 'Locality' [Default value : Palo Alto] : Augsburg

Enter proper value for 'IPAddress' (Provide comma separated values for multiple IP addresses) [optional] : 10.10.10.250

Enter proper value for 'Email' [Default value : email@acme.com] : administrator@nobrac.ch

Enter proper value for 'Hostname' (Provide comma separated values for multiple Hostname entries) [Enter valid Fully Qualified Domain Name(FQDN), For Example : example.domain.com] : nbg-vcsa-01.lan.nobrac.ch

Enter proper value for VMCA 'Name' : VMWARE CA
         1. Generate Certificate Signing Request(s) and Key(s) for VMCA Root Signing certificate

         2. Import custom certificate(s) and key(s) to replace existing VMCA Root Signing certificate

Option [1 or 2]: 1

Please provide a directory location to write the CSR(s) and PrivateKey(s) to:
Output directory path: /root/
2025-01-09T13:31:39.156Z  Running command: ['/usr/lib/vmware-vmca/bin/certool', '--genkey', '--privkey', '/root/vmca_issued_key.key', '--pubkey', '/tmp/pubkey.pub']
2025-01-09T13:31:41.375Z  Done running command
2025-01-09T13:31:41.376Z  Running command: ['/usr/lib/vmware-vmca/bin/certool', '--gencacsr', '--privkey', '/root/vmca_issued_key.key', '--pubkey', '/tmp/pubkey.pub', '--config', '/var/tmp/vmware/certool.cfg', '--csrfile', '/root/vmca_issued_csr.csr']
2025-01-09T13:31:41.841Z  Done running command

CSR generated at: /root/vmca_issued_csr.csr
         1. Continue to importing Custom certificate(s) and key(s) for VMCA Root Signing certificate

         2. Exit certificate-manager

Option [1 or 2]:
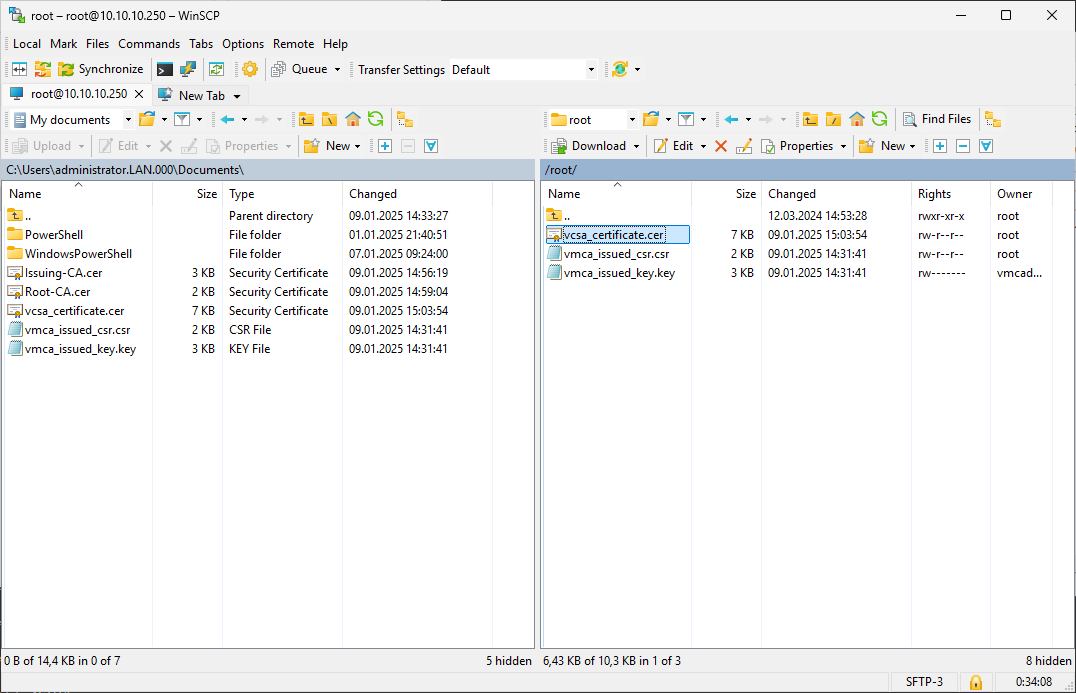
Connect to VCSA with WinSCP
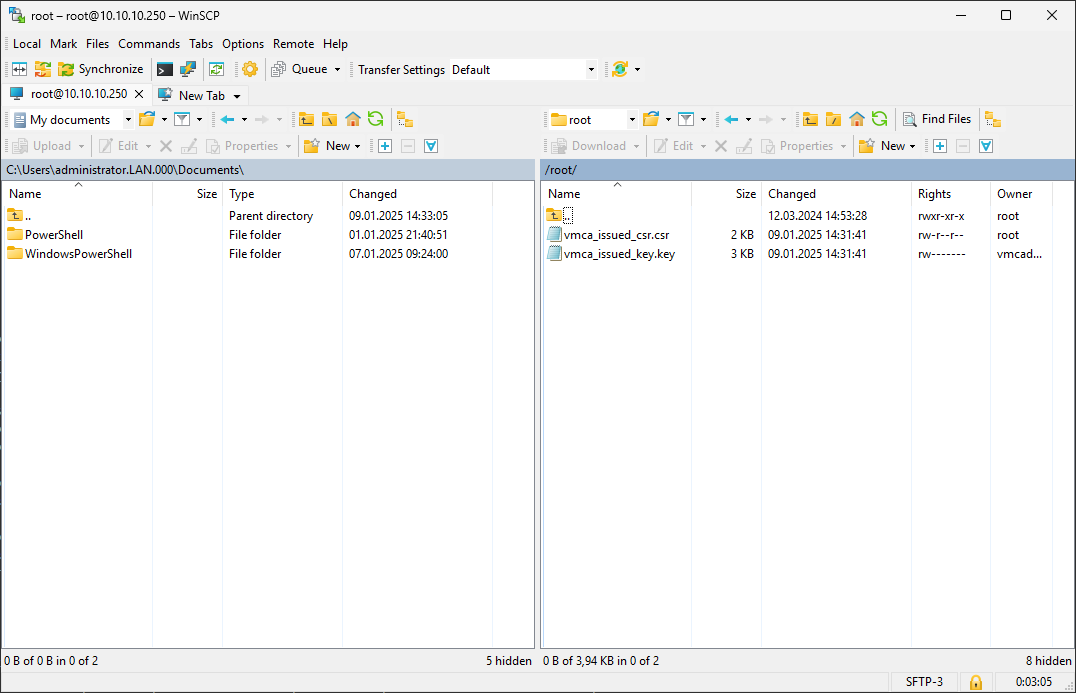
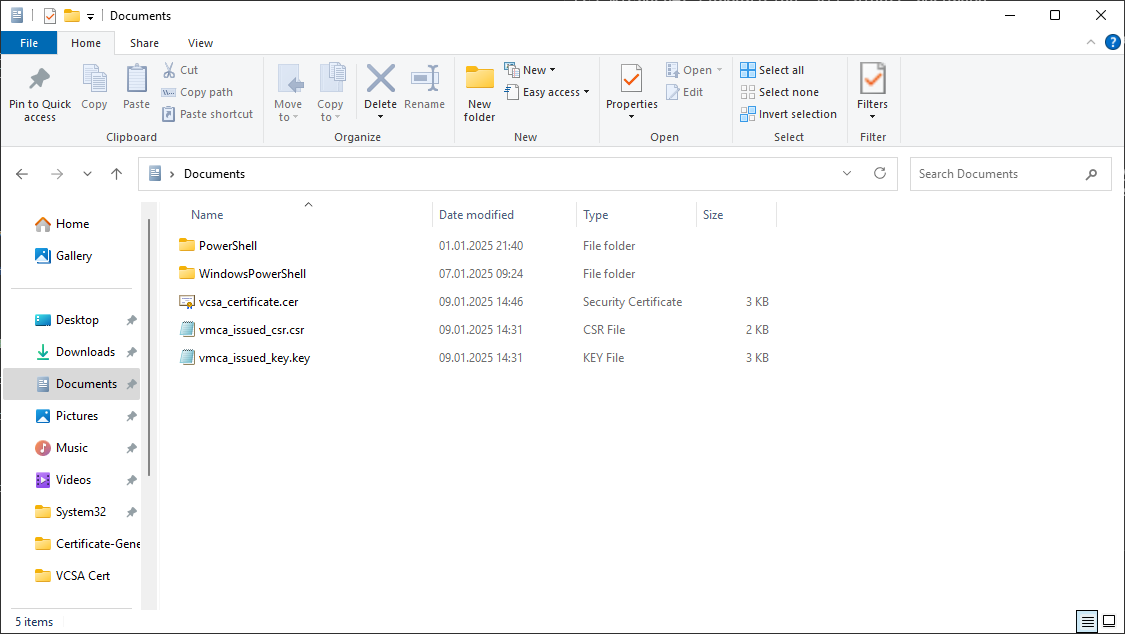
Start WinSCP or Filezilla and login to your VCSA. Navigate to the folder that you provided for the CSR and Private Key files. You should see two files. Download the CSR to your computer.
- vmca_issued_csr.csr
- vmca_issued_key.key
Create SubCA Certificate Template
Open the Certification Authority on your SubCA server and do a right-click on the “Certificate Templates” folder and select “Manage”.

Search for the “Subordinate Certification Authority” template and do a right-click on it and select “Duplicate Template”.

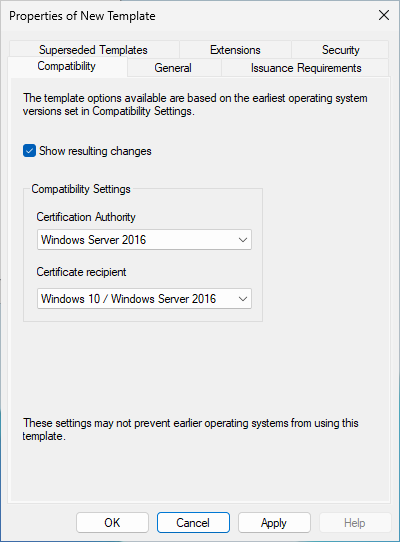
The following window should appear. Change the compatibility settings for both options to Windows Server 2016. It doesn’t really matter for this configuration but we do it just in case.
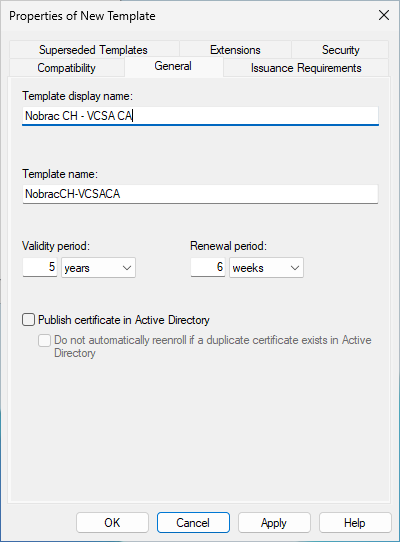
Switch to the “General” tab and give the template a good name. I chose “Nobrac CH - VCSA CA” for example. Leave the validity period on 5 years and renewal period on 6 weeks.
Switch to the “Security” tab. Only members of the “Domain Admins” or “Enterprise Admins” group can enroll this certificate. You could create a separate security group for this template if you want but we will delete this template after we issued the certificate anyways. This kind of template shouldn’t be always available. I recommend that you delete the template after the whole installation.

You should see the template in the overview.

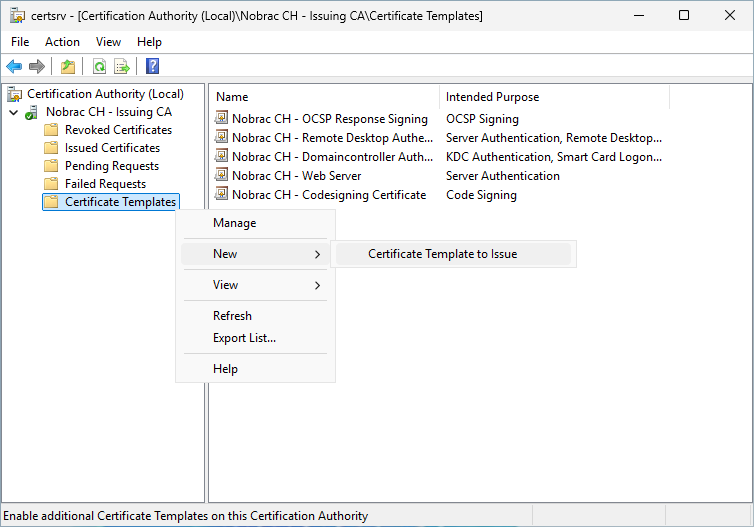
On the Certification Authority console, do a right-click on the “Certificate Templates” folder and select “New” -> “Certificate Template to Issue”.
Search the template that you created before.

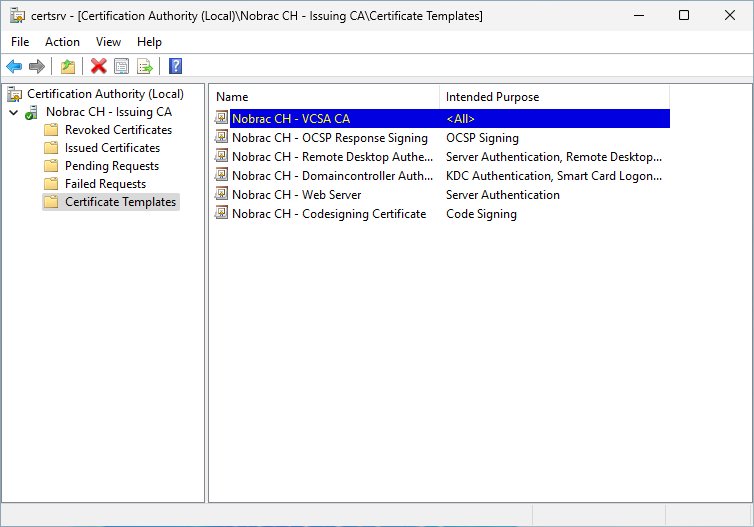
You should now see the template in the overview.
Request the certificate
Go back to your Management-PC and make sure you are logged in with a User that got Domain Admin rights (to issue the certificate).
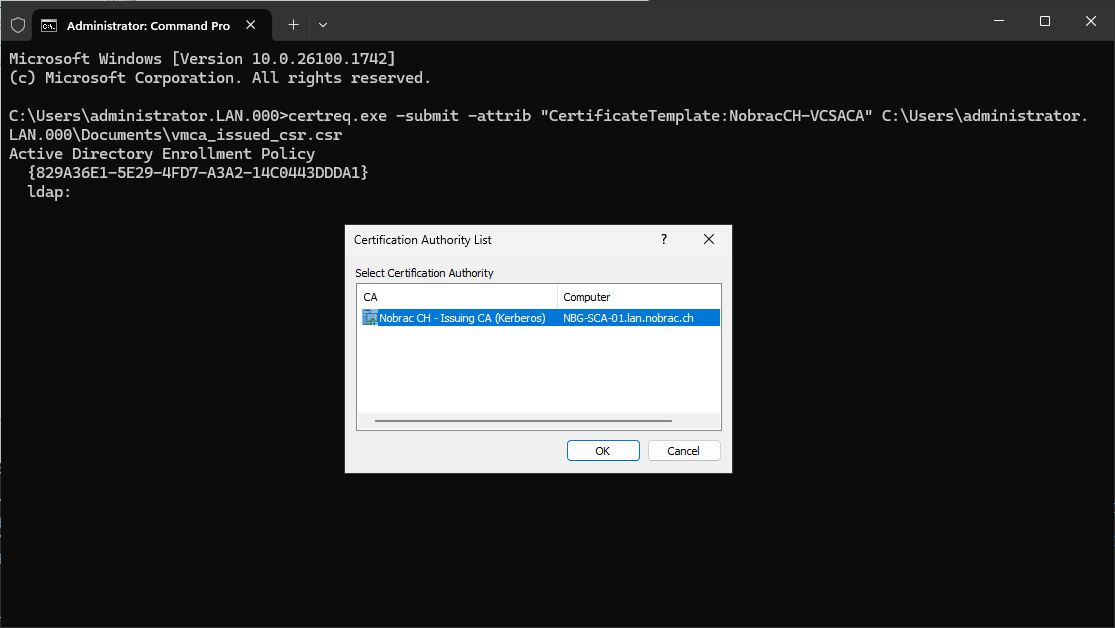
Enter the following command. Make sure to change the certificate template name (NobracCH-VCSACA in this example) to the one that your template got and change the path to the path where the CSR is stored. After you entered the command, you will need to select/confirm your SubCA. Just click on “OK”.
|
|
It should look like this.
You will then need specify a location where you want to save the requested certificate.

You should see a message that the certificate got successfully issued. You can ignore the message regarding the validity period in this case.

You should see the requested certificate in the location that you specified.
Combine Root CA, SubCA and issued certificates
We will now need to export our Root CA and SubCA certificates in Base64 encoded format. There are two methods.
Method 1 (Certificate Authority console)
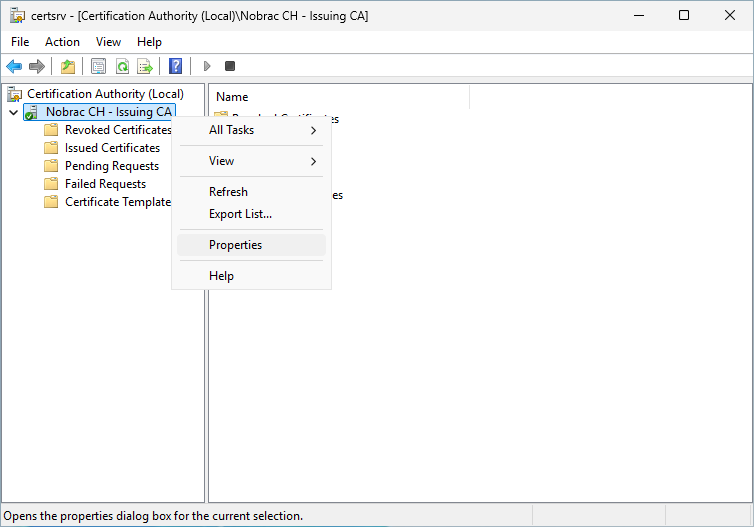
On your SubCA, open the Certificate Authority console. Do a right-click on the SubCa server symbol and select “Properties…”.
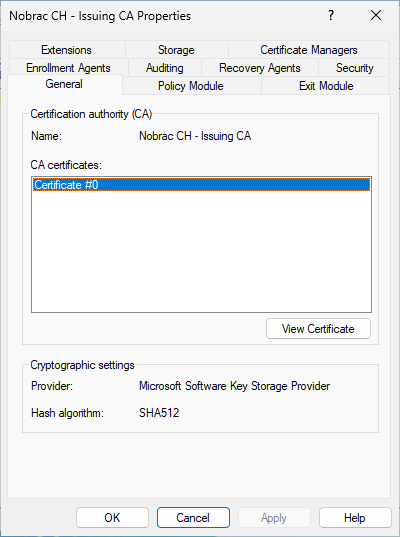
You should see the following window. Click on “View Certificate”.
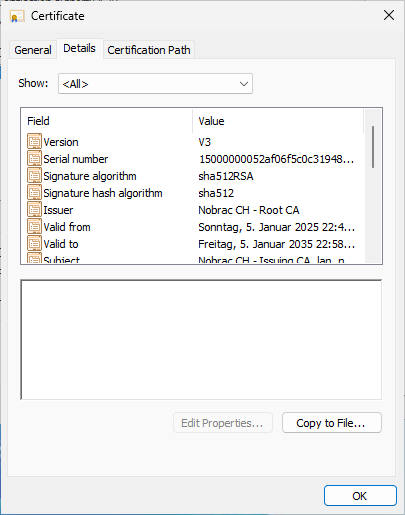
You should see the following window. Click on “Copy to File…”.
Just click on next.
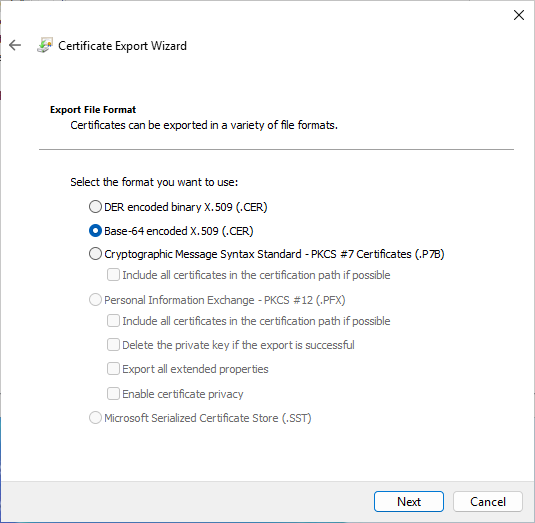
Select “Base-64 encoded X.509 (.CER) and click on next.
You should now see the following window. Click on “Browse…” so specify a path.

It should look like this. Click on next.

Confirm the export and click on finish.

Confirm the dialogue.

Now do the same thing for the SubCA certificate. In the end, copy both certificates (Root CA and SubCA) to your Management-PC.
Method 2 (Computer certificate store)
Root CA:
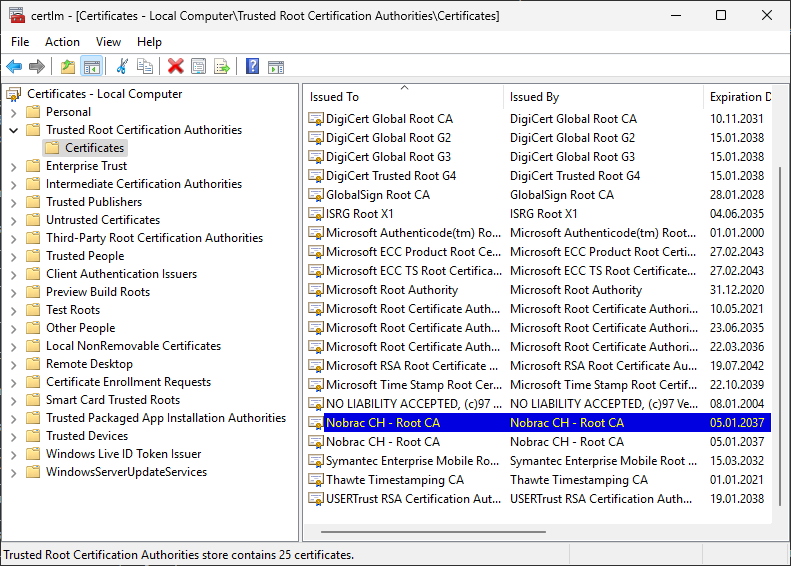
Open the computer certificate store on your local machine.
You will find the Root CA certificate in the “Trusted Root Certification Authorities” -> “Certificates” folder.
Export it as “Base-64 encoded X.509 (.CER) certificate as shown in the steps above.
SubCA:
Open the computer certificate store on your local machine.
You will find the SubCA certificate in the “Intermediate Certification Authorities” -> “Certificates” folder.
Export it as “Base-64 encoded X.509 (.CER) certificate as shown in the steps above.
In the end, copy both certificates (Root CA and SubCA) to your Management-PC.

Combine the certificates
Open the requested certificate for the VCSA with Notepad (or any other editor).
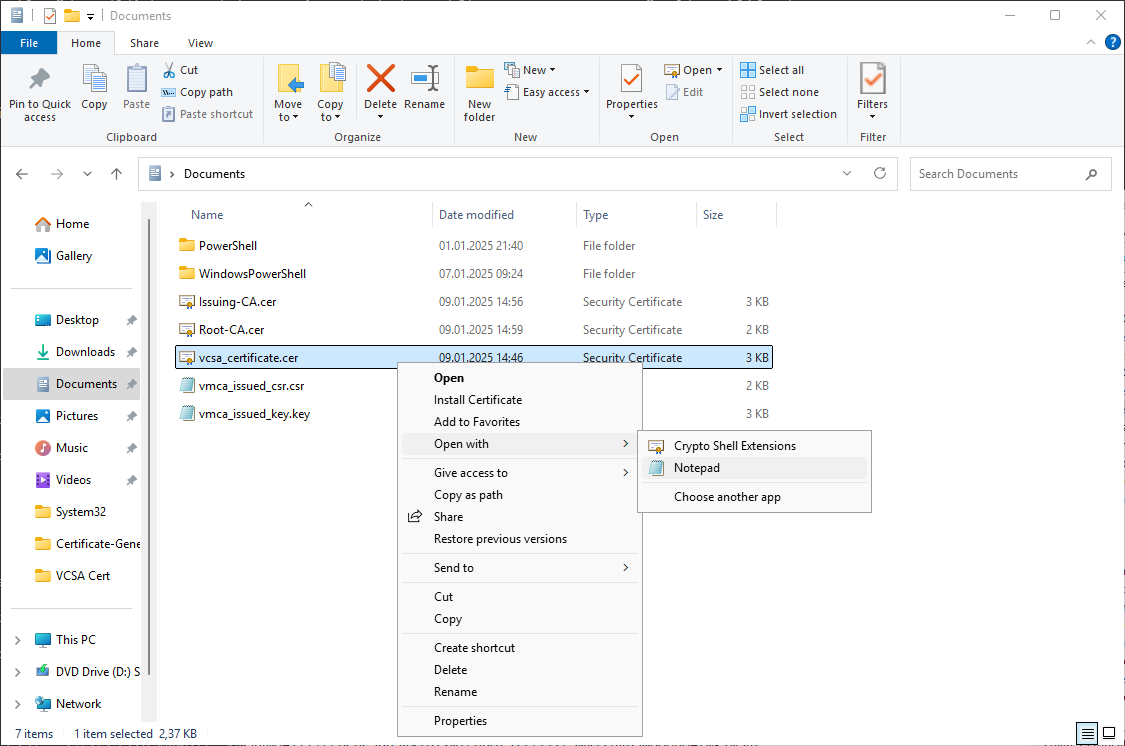
You will see something like this.
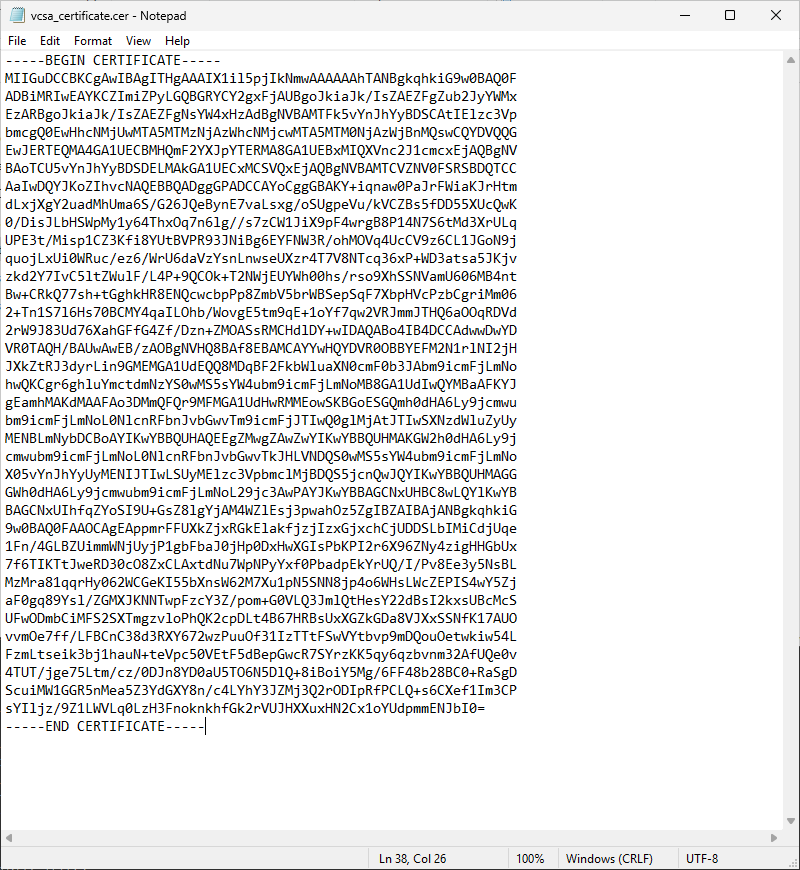
Paste the Base64 codeblock of your SubCA certificate below your VCSA Base64 codeblock. Paste the Base64 codeblock of your Root CA certificate below the SubCA Base64 codeblock.
One line free in between.
It should look like this.

Safe the certificate and copy it back to your VCSA with WinSCP.
Complete the certificate replace
VCSA probably dropped you out of the shell cause of the timeout.
Just enter the command for the certificate manager and select option 2 again. After you entered valid credentials it will tell you that a “certool.cfg” already exists. We don’t want to reconfigure it, so select “N”. After that, select option “2” to import custom certificates and keys to replace the existing VMCA Root Signing certificate. You will then need to enter the full path of the .cer and .key file.
Confirm the replacement of the certificate with “Y”. Grab a coffee after that cause it can take between 10-15 minutes to complete.
root@nbg-vcsa-01 [ ~ ]# /usr/lib/vmware-vmca/bin/certificate-manager
                 _ _ _ _ _ _ _ _ _ _ _ _ _ _ _ _ _ _ _ _ _ _ _ _ _ _ _ _ _ _ _ _ _ _ _
                |                                                                     |
                |      *** Welcome to the vSphere 8.0 Certificate Manager  ***        |
                |                                                                     |
                |                   -- Select Operation --                            |
                |                                                                     |
                |      1. Replace Machine SSL certificate with Custom Certificate     |
                |                                                                     |
                |      2. Replace VMCA Root certificate with Custom Signing           |
                |         Certificate and replace all Certificates                    |
                |                                                                     |
                |      3. Replace Machine SSL certificate with VMCA Certificate       |
                |                                                                     |
                |      4. Regenerate a new VMCA Root Certificate and                  |
                |         replace all certificates                                    |
                |                                                                     |
                |      5. Replace Solution user certificates with                     |
                |         Custom Certificate                                          |
                |         NOTE: Solution user certs will be deprecated in a future    |
                |         release of vCenter. Refer to release notes for more details.|
                |                                                                     |
                |      6. Replace Solution user certificates with VMCA certificates   |
                |                                                                     |
                |      7. Revert last performed operation by re-publishing old        |
                |         certificates                                                |
                |                                                                     |
                |      8. Reset all Certificates                                      |
                |_ _ _ _ _ _ _ _ _ _ _ _ _ _ _ _ _ _ _ _ _ _ _ _ _ _ _ _ _ _ _ _ _ _ _|
Note : Use Ctrl-D to exit.
Option[1 to 8]: 2
Do you wish to generate all certificates using configuration file : Option[Y/N] ? : y

Please provide valid SSO and VC privileged user credential to perform certificate operations.
Enter username [Administrator@vsphere.local]:administrator@vsphere.local
Enter password:

certool.cfg file exists, Do you wish to reconfigure : Option[Y/N] ? : n
         1. Generate Certificate Signing Request(s) and Key(s) for VMCA Root Signing certificate

         2. Import custom certificate(s) and key(s) to replace existing VMCA Root Signing certificate

Option [1 or 2]: 2

Please provide valid custom certificate for Root.
File : /root/vcsa_certificate.cer

Please provide valid custom key for Root.
File : /root/vmca_issued_key.key

You are going to replace Root Certificate with custom certificate and regenerate all other certificates
Continue operation : Option[Y/N] ? : y
Status : 60% Completed [Replace vpxd-extension Cert...]
Updating new vpxd-extension certificate for VC extended solutions

Updating the certificate for VC extension com.vmware.vim.eam

Updating the certificate for VC extension com.vmware.rbd

Updating the certificate for VC extension com.vmware.imagebuilder
Status : 100% Completed [All tasks completed successfully]

root@nbg-vcsa-01 [ ~ ]#
This can take a really long time. Make sure to wait and do not cancel the task.
It can take several minutes until the VCSA website is accessible again. When you access the website, you should already see that there is no certificate warning anymore.
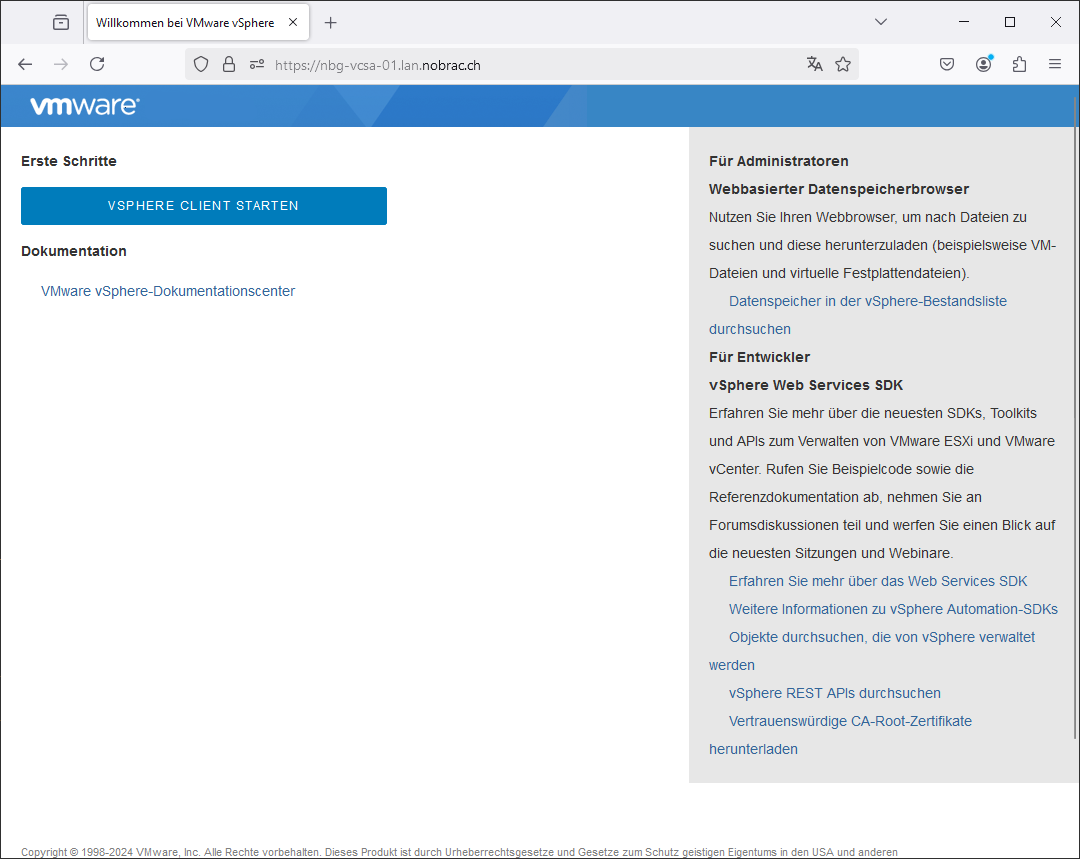
If we check the certificate now, we can see that it got issued by our Windows PKI.

Backup (Veeam, etc.)
If you are using Veeam or another backup solution, do not forget to “reconfirm” the vCenter Server in the backup solution, as the server now has a new certificate. Otherwise all backups will fail!